Intro
Floori Portal is a friendly administrator panel for managing user accounts, texture base and offers in all Floori applications. In this guide we’ll go through the possibilities it comes with.Table of Contents
1. Login, register and forgotten password 2. Adding a new category 3. Adding new floor 4. Copying floors to another category 5. Account settingsGuide
1. Login, register and forgotten password
Access Floori Portal by entering this link – https://portal.floori.io/. Here you can log in or register your account. When logging in, enter the login and password that was created for your account. In case you’ve forgotten your password, it is possible to use the “forgot password” option (available on the login page or at https://portal.floori.io/recoverpassword). If you have an account with Distributor/Retailer type you’ll be able to add manufacturers in your offer. It will be the first screen after logging in.
 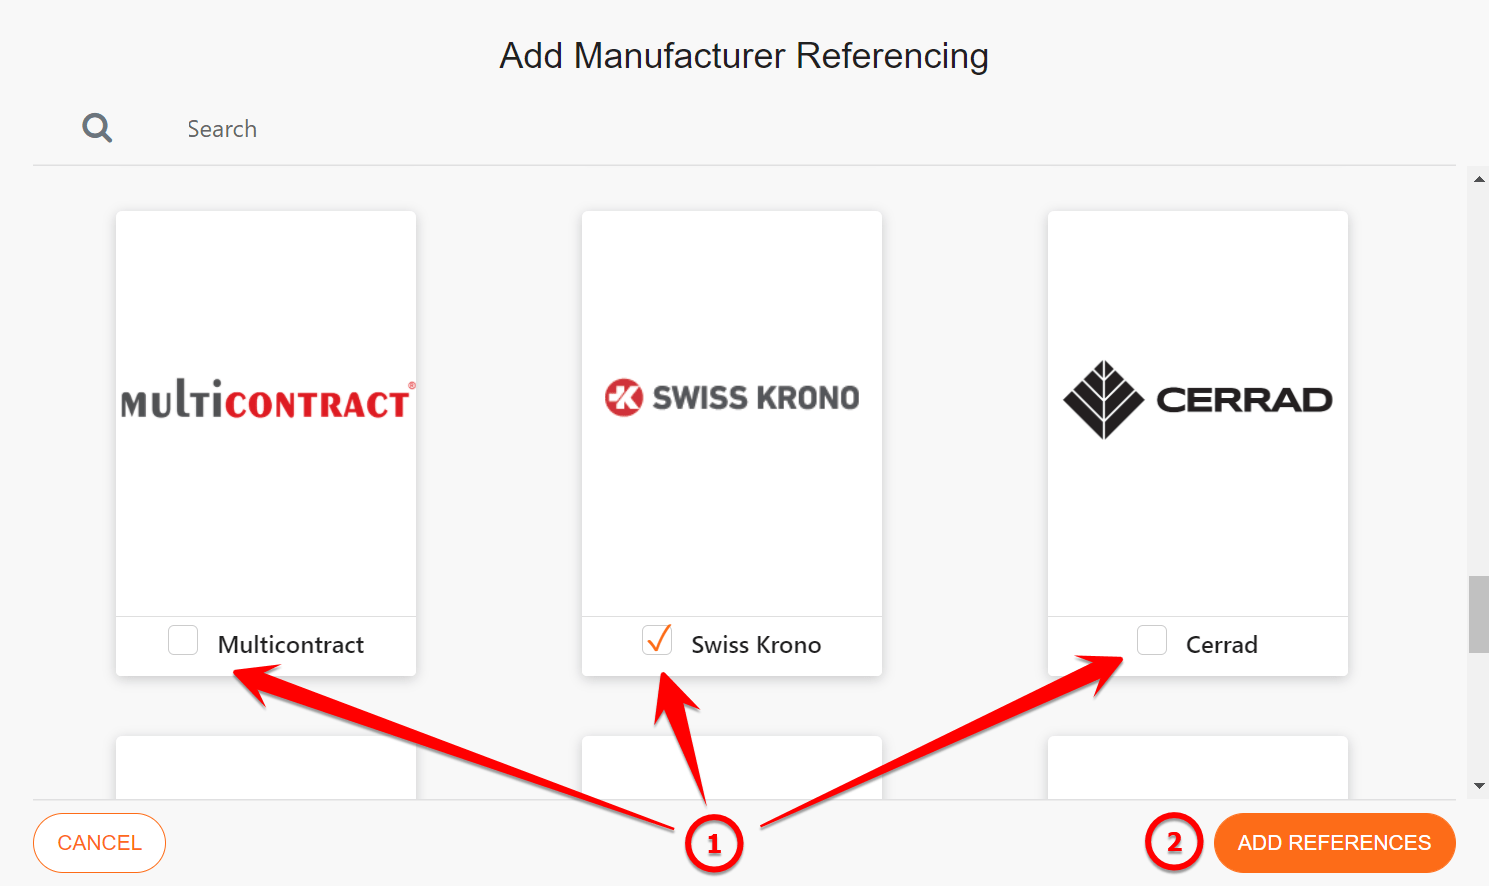 You can add them or remove any time by clicking the “Select Manufacturer” button and choosing them.
 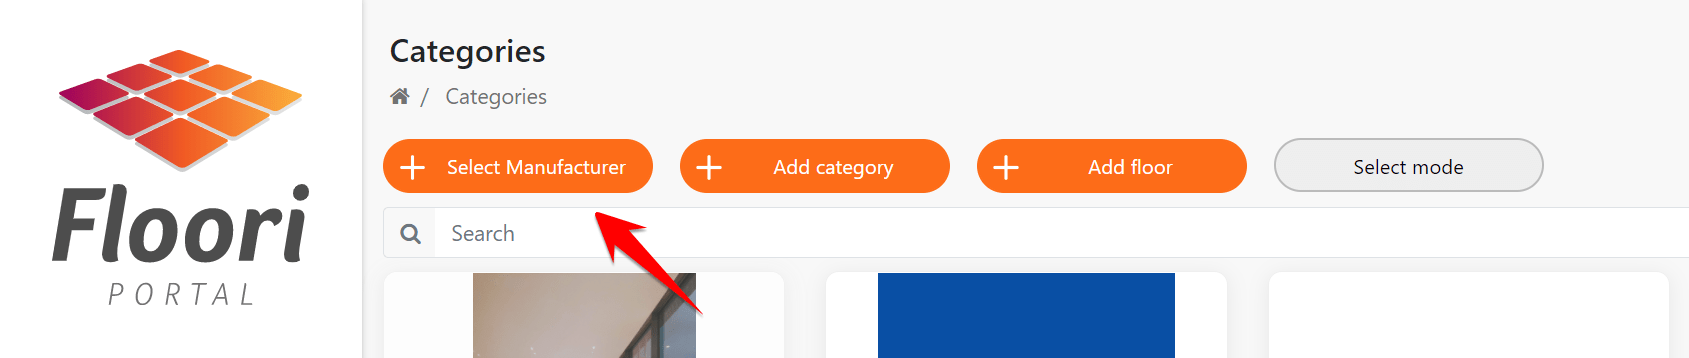 After that you’ll be able to see the products in your “Product Catalog”.
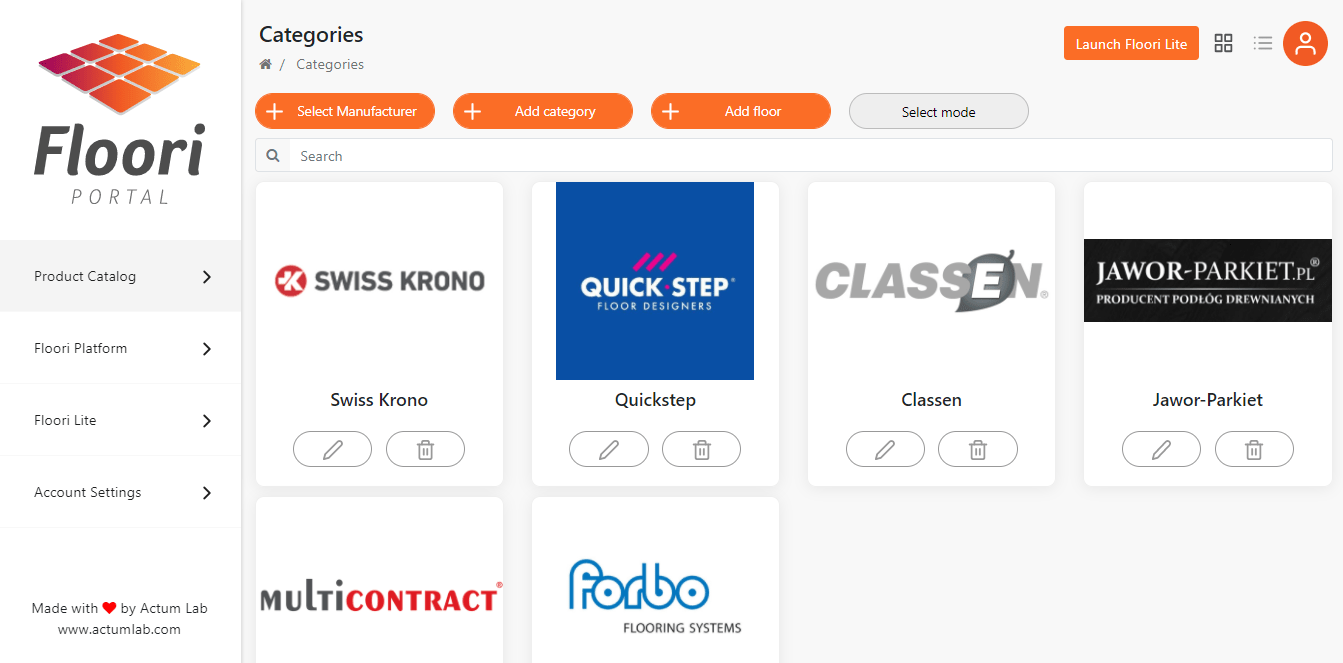
2. Adding a new category
The Floori application allows you to create an unlimited number of catalogs that can represent, e.g. your collections or floor designs. You can add a new catalog using the “Add category” button available on the main screen of the application after logging in: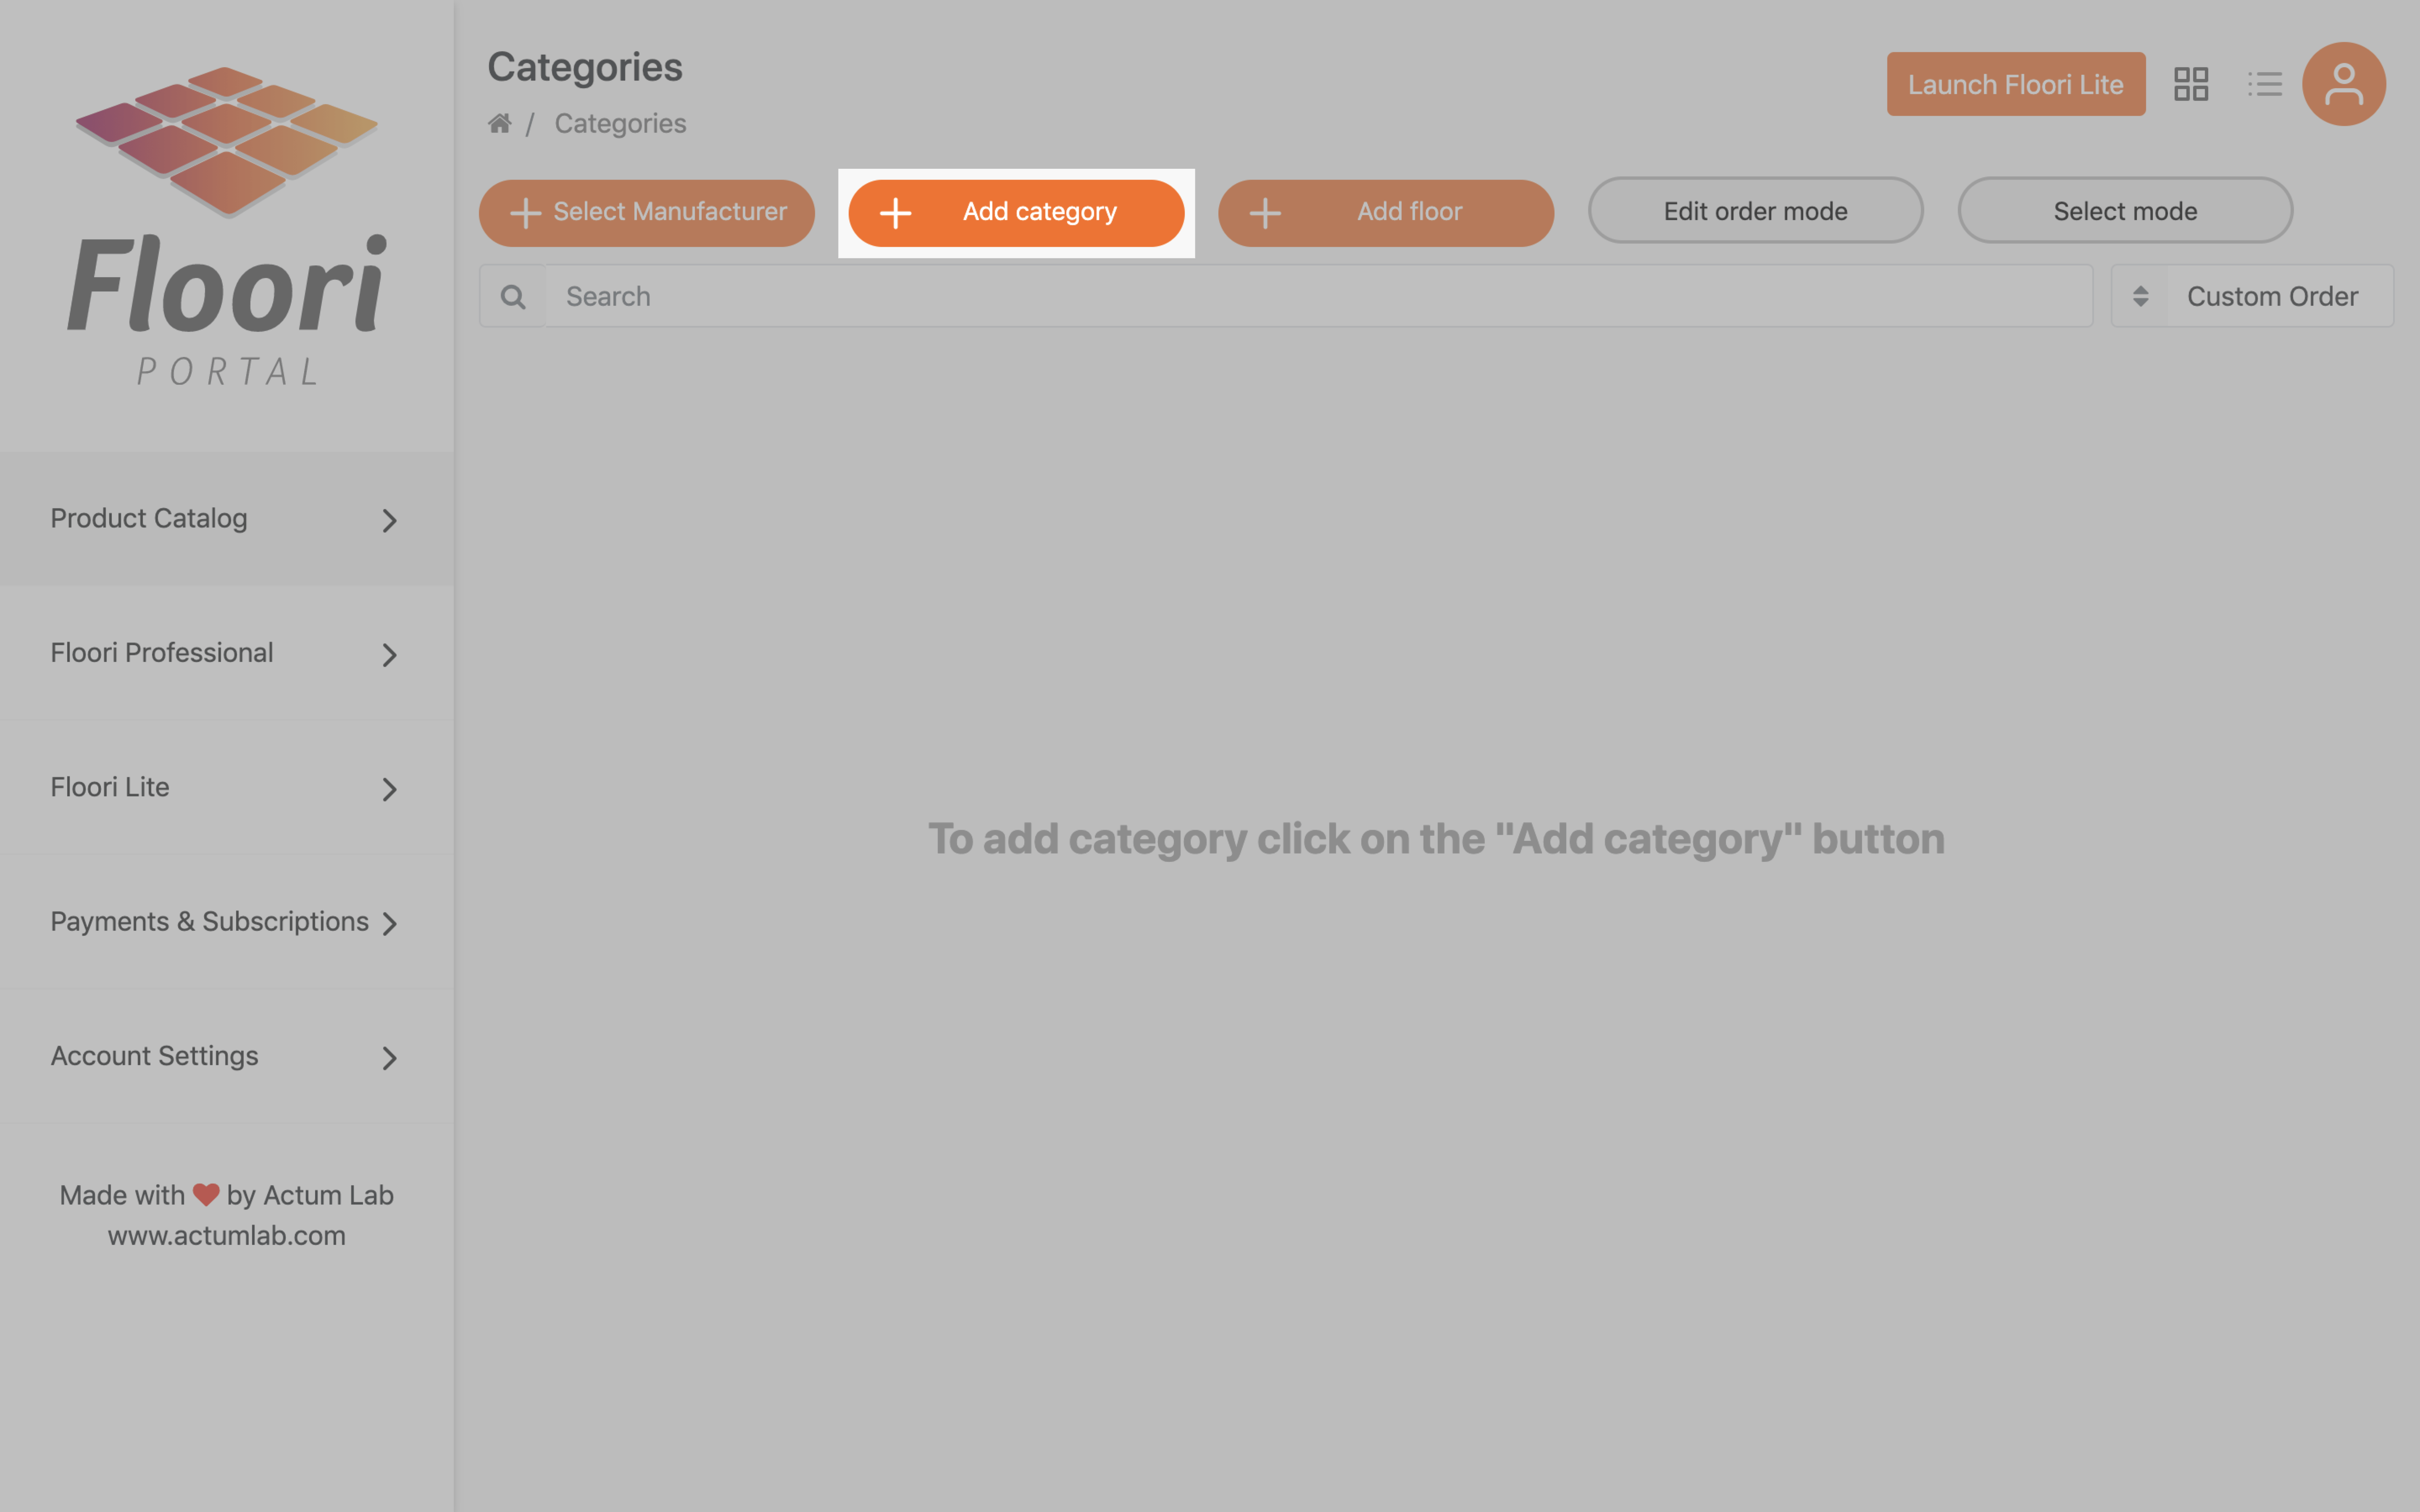 Then, you need to add:
- Name of the directory
- Catalog description
- Photo (e.g. catalog cover, logo, etc.) – the optimal minimum size is 1024 x 1024 pixels

3. Adding new floor
After successfully adding a category, it is possible to add individual floors to it, which will be used in the application. In this case, select the “Add floor” button: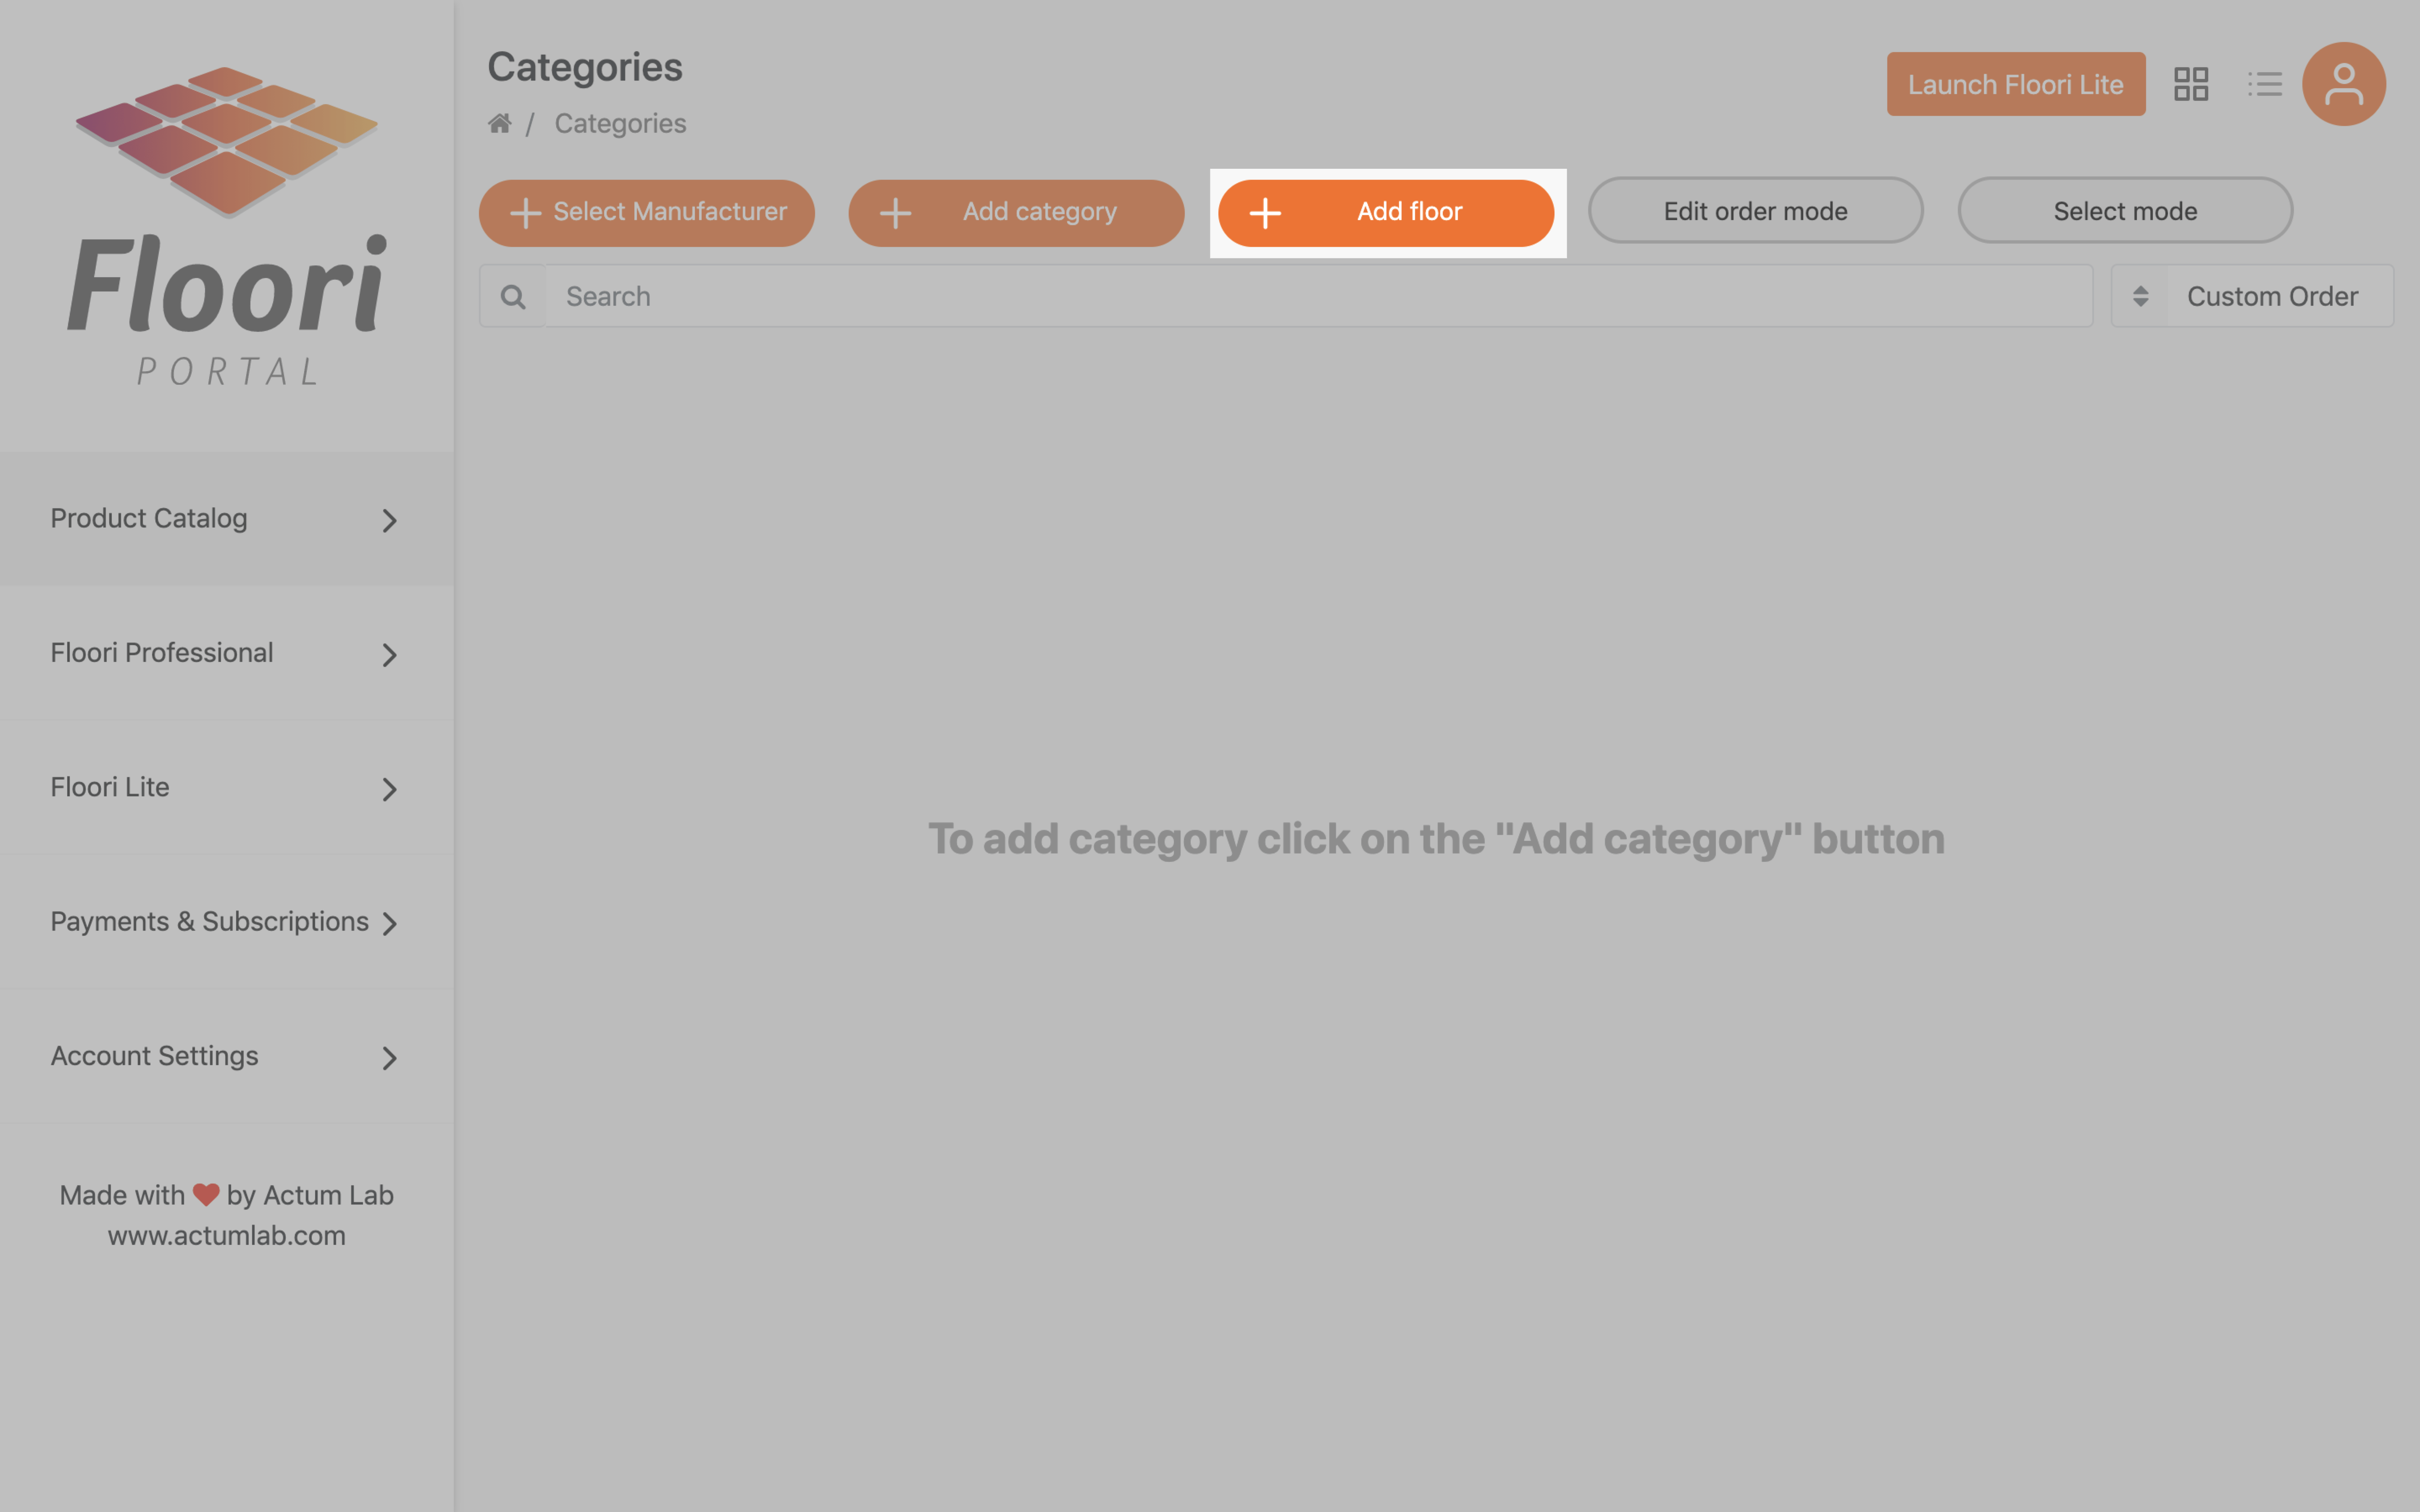 Then, in the “Floor details” tab, you can provide detailed data about the floor and an overview photo (thumbnail). The detailed data are (text in bold shows which data are mandatory to add a floor):
- Product name
- SKU (stock keeping unit)
- URL address to the website where the product is located (e.g. on your website or online store)
- Product description
- Price in EURO
- Additional price in other currency
- Optional: Floor type – Floor or Carpet (if you do not see this option, ask to enable it via the contact form)
- Product preview image (thumbnail)
 This is how General area looks.
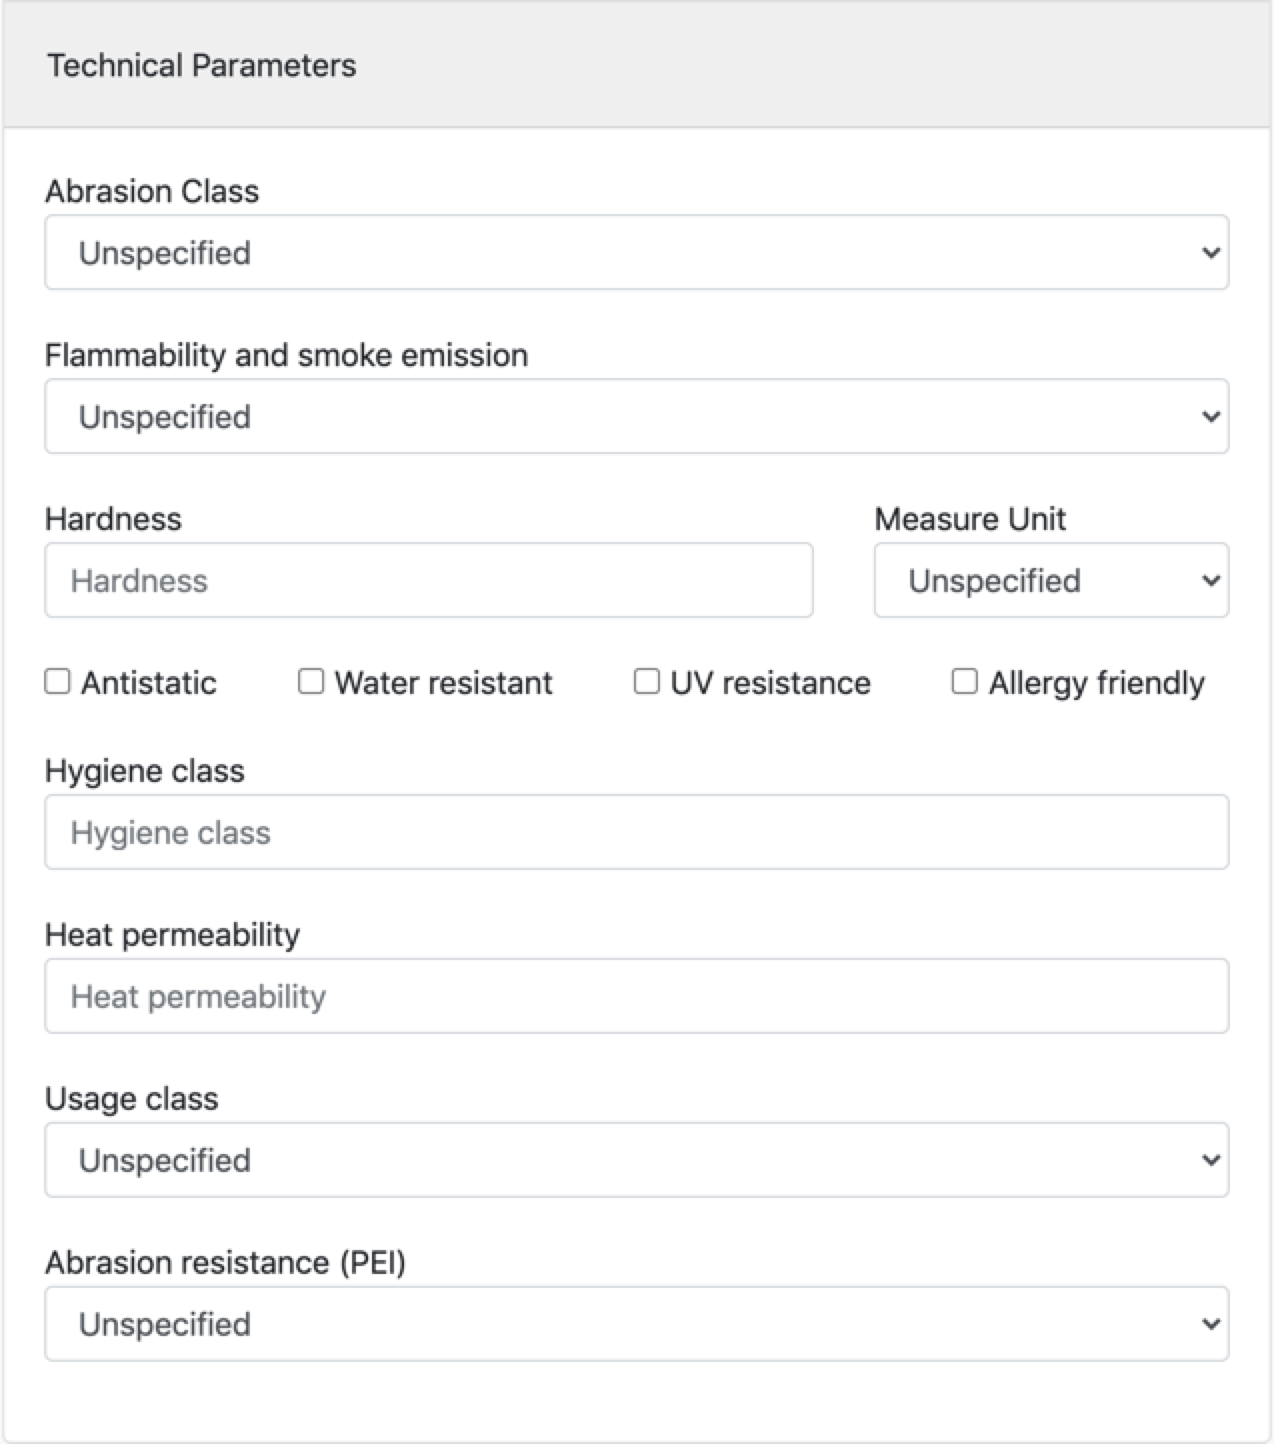
 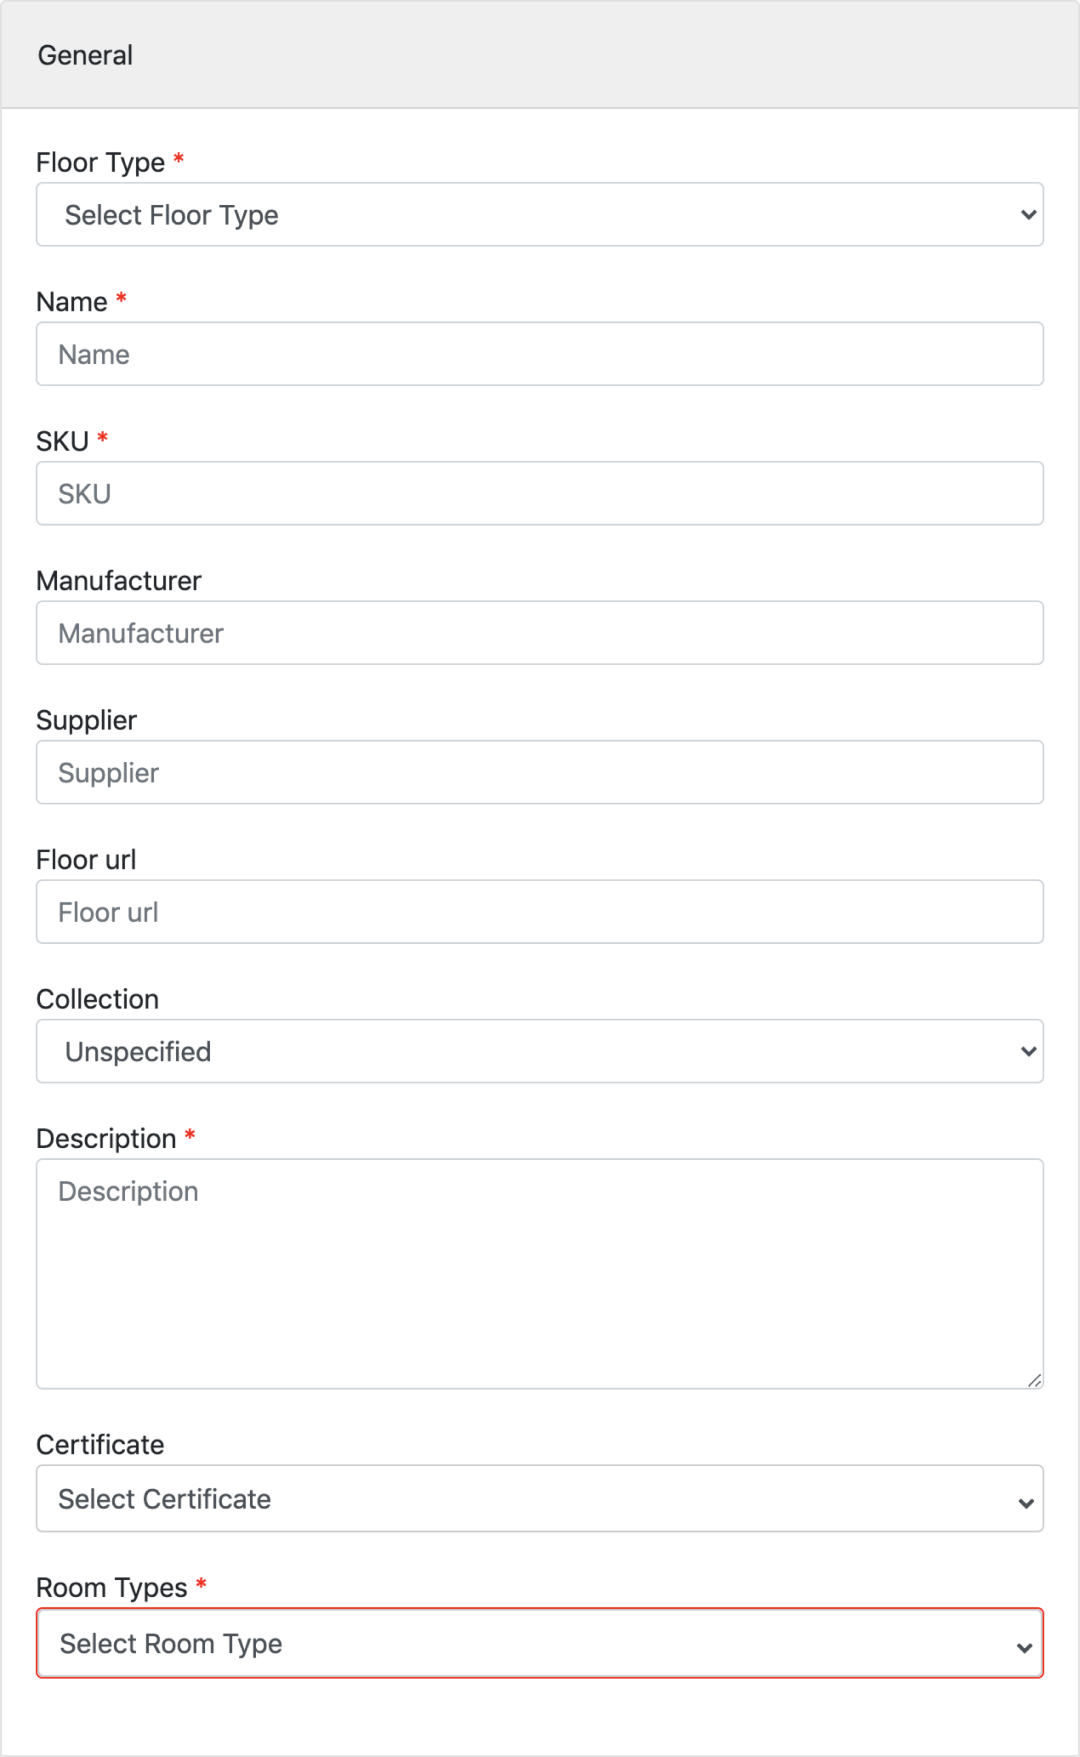 By default, there are also Installation and Technical Parameters area. The areas may differ, depending on the floor type that was chosen.
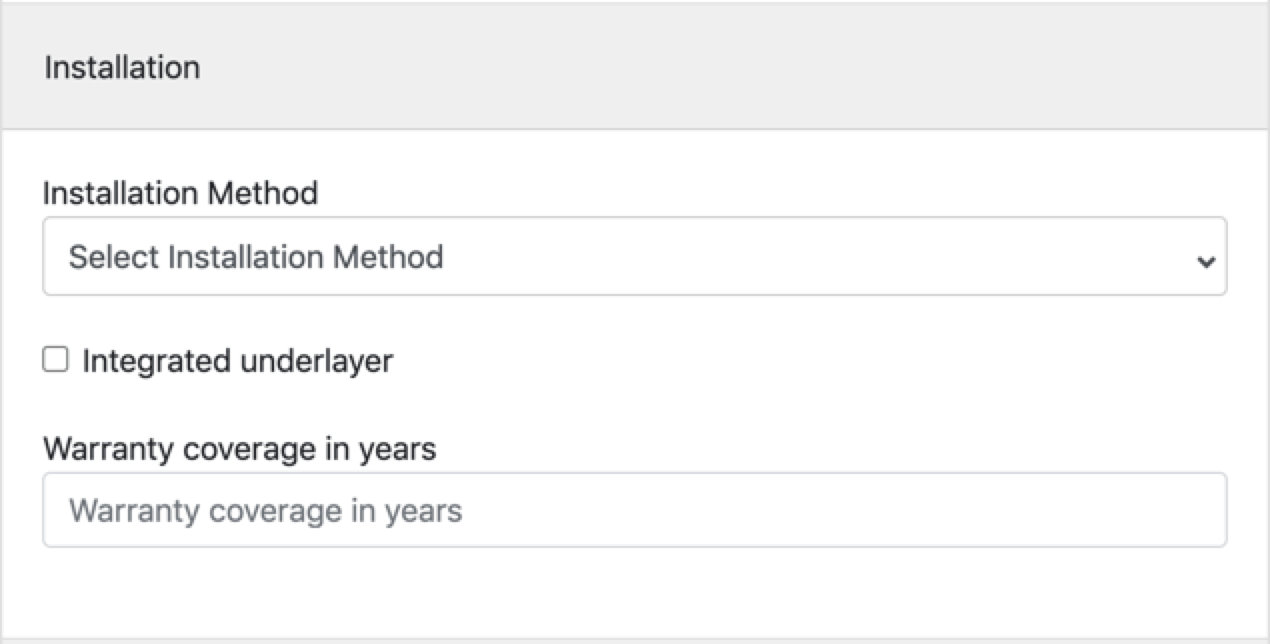
 Below you can also decide whether the product should be visible on Floori Lite and Floori Professional.
  In the next tab “Pricing & Options” you can set important options for the product.
  In “Tile options”, you can set the size of the product. A good start is adding Width and Height. Notice that it will be related to the size and orientation of added images of the product.
 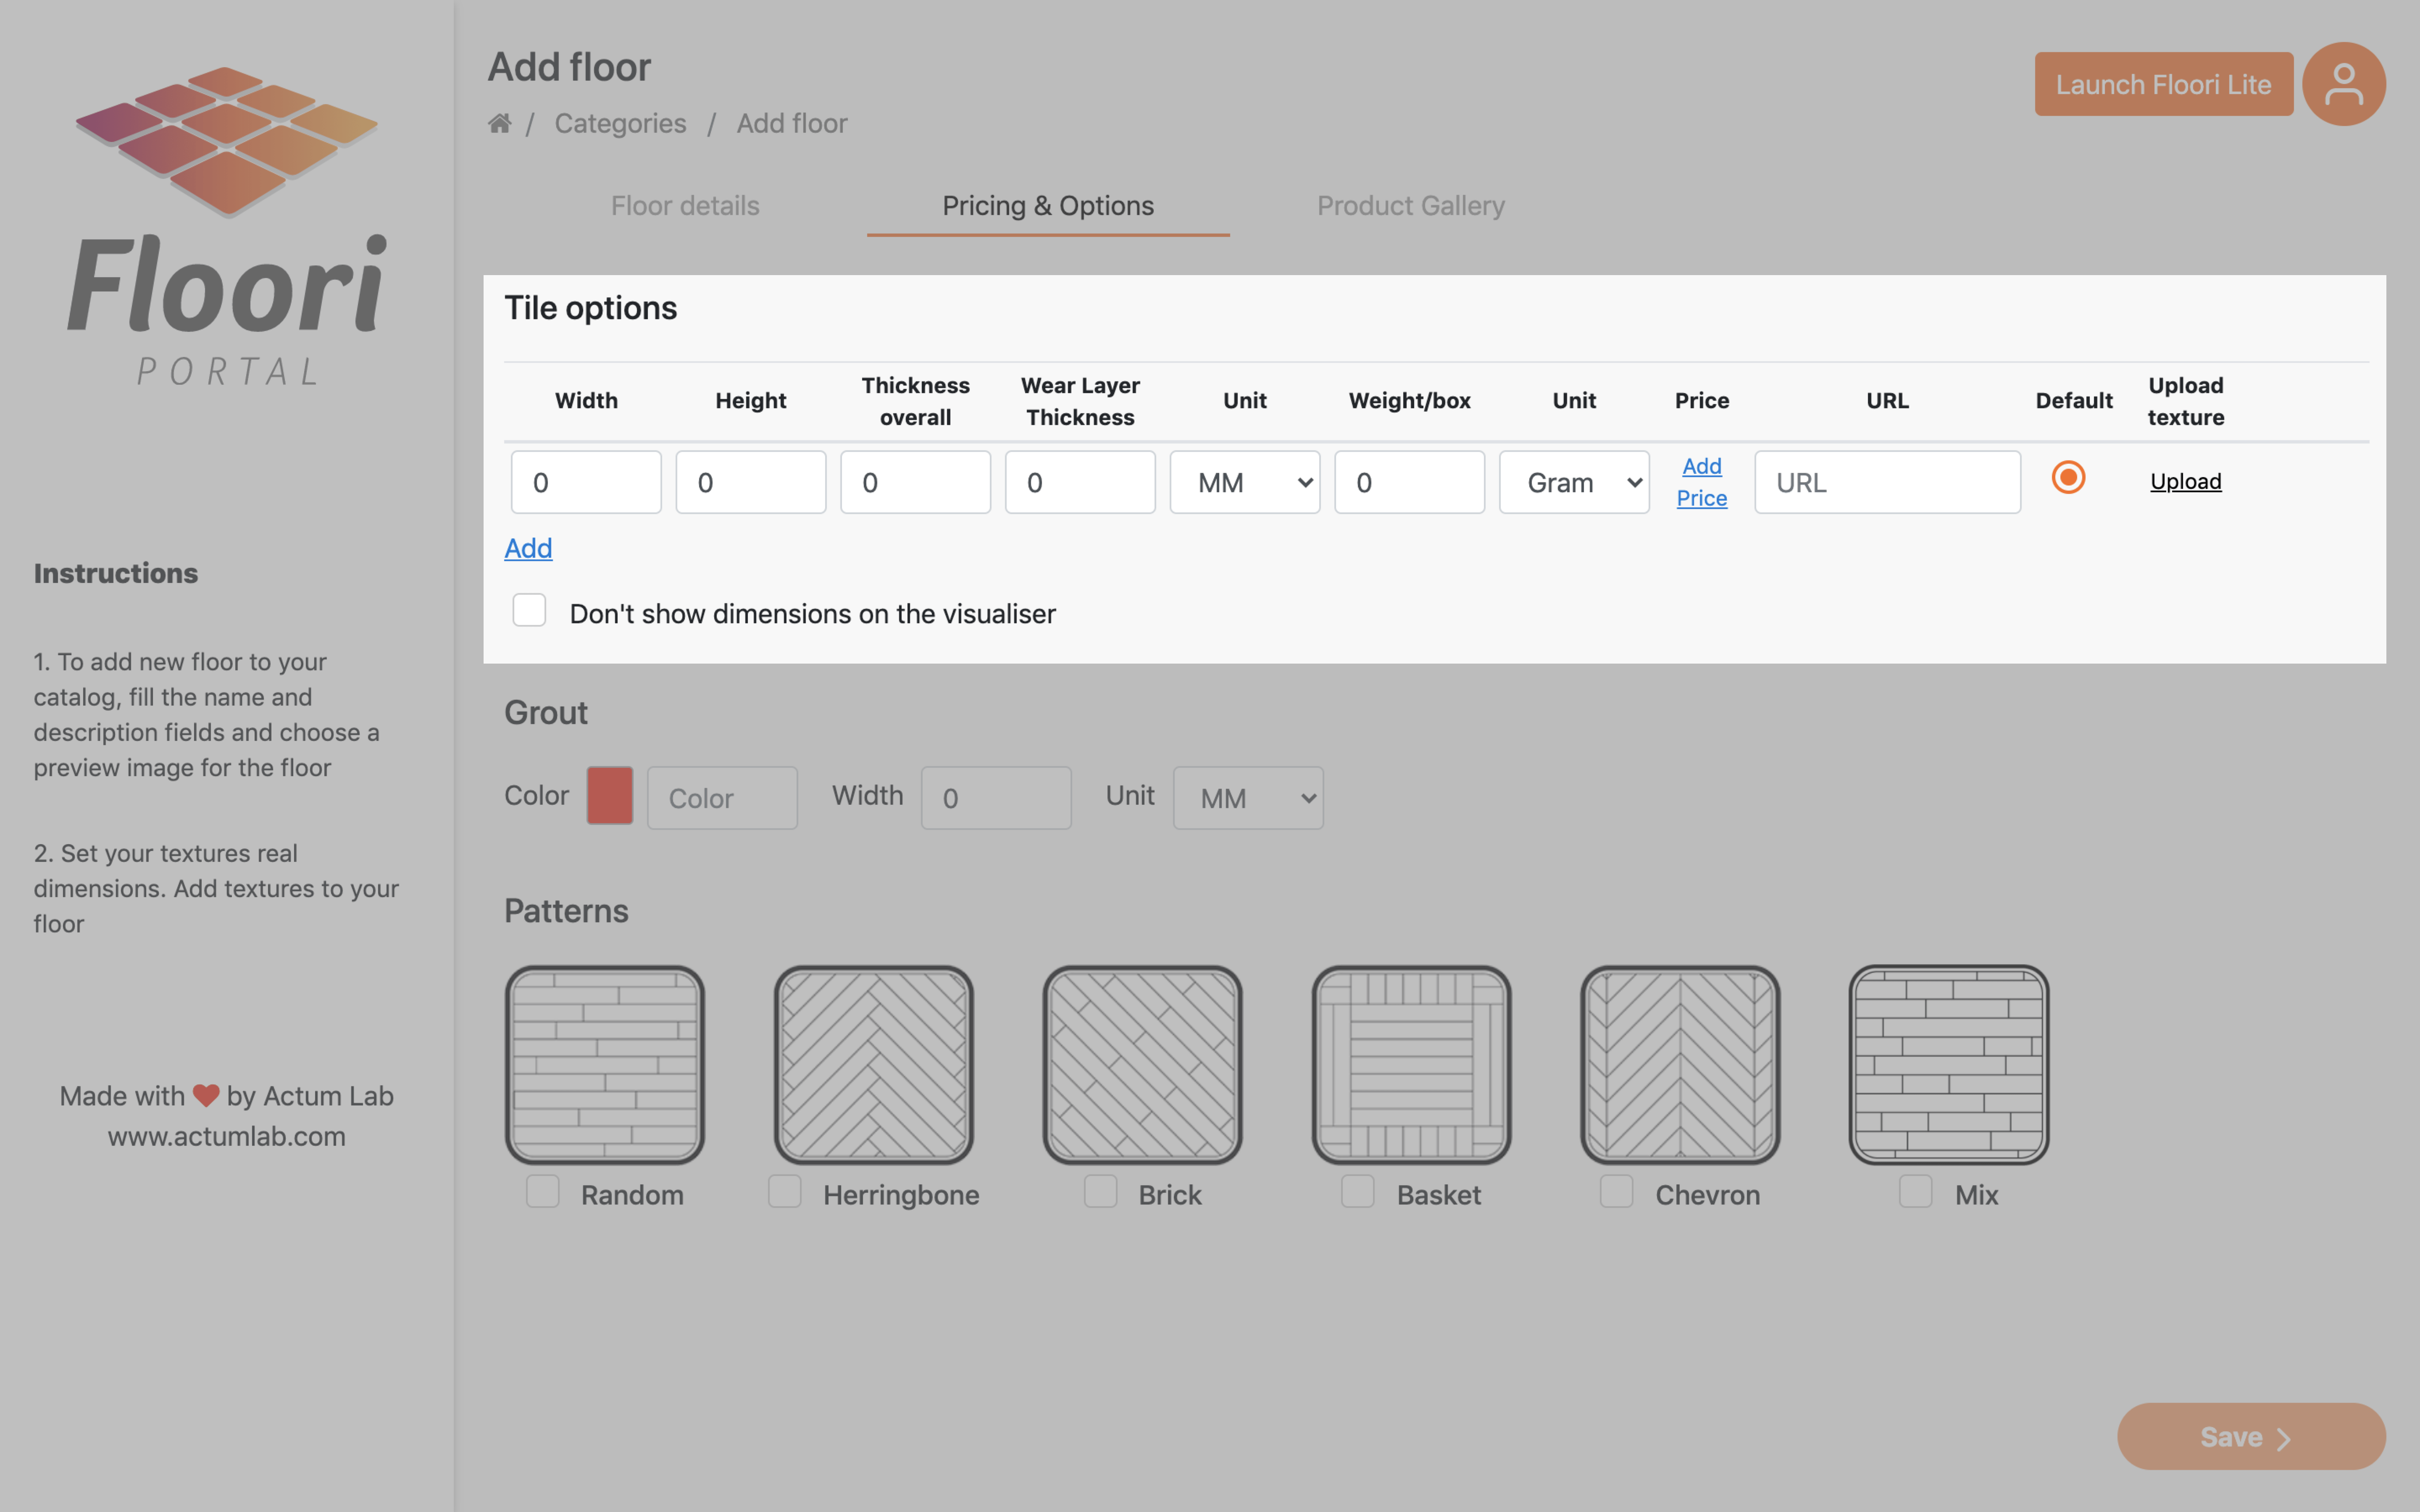 If you click Add Price you’ll see a pop-up with price-setting options as shown below.
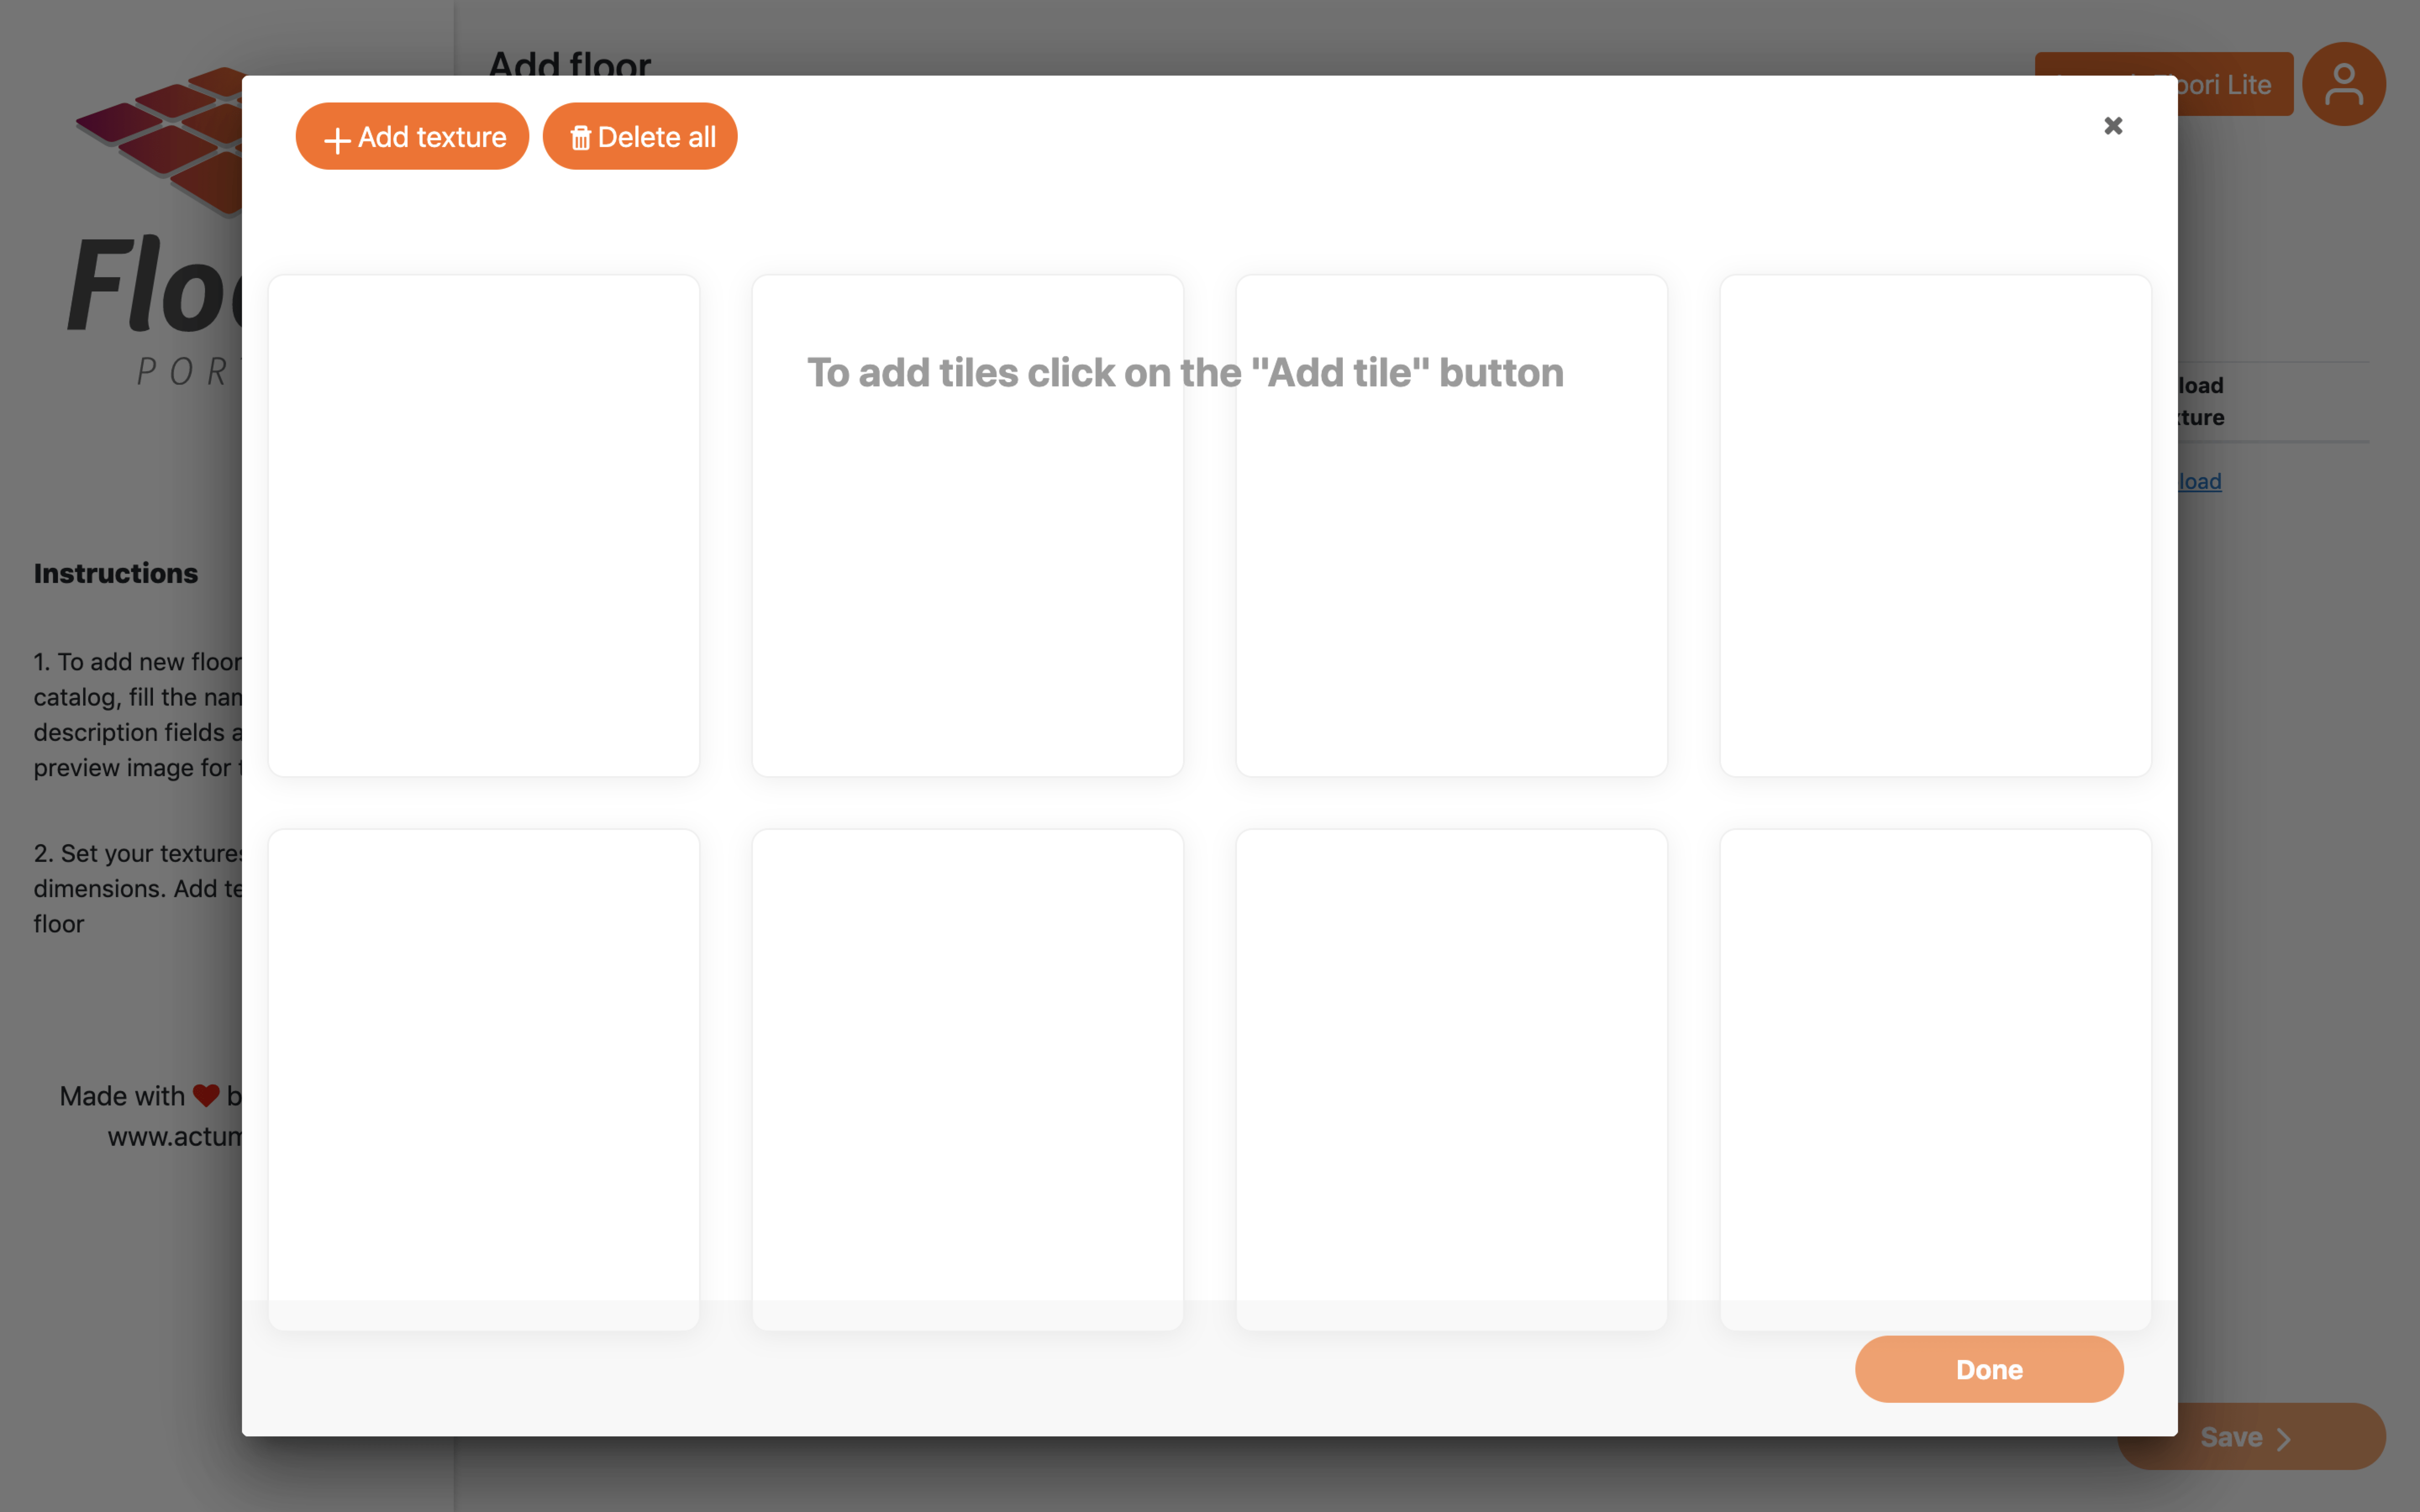
  After adding the size you can add images of the product by clicking upload on right, under “Upload texture”.
  You can upload one of two texture variants:
- Single boards/tiles of one floor (e.g. 20 different boards of one model / SKU)
- A single “Seamless” type image, i.e. the one that does not have so-called stitches.
 Beside this you can also set a grout…
 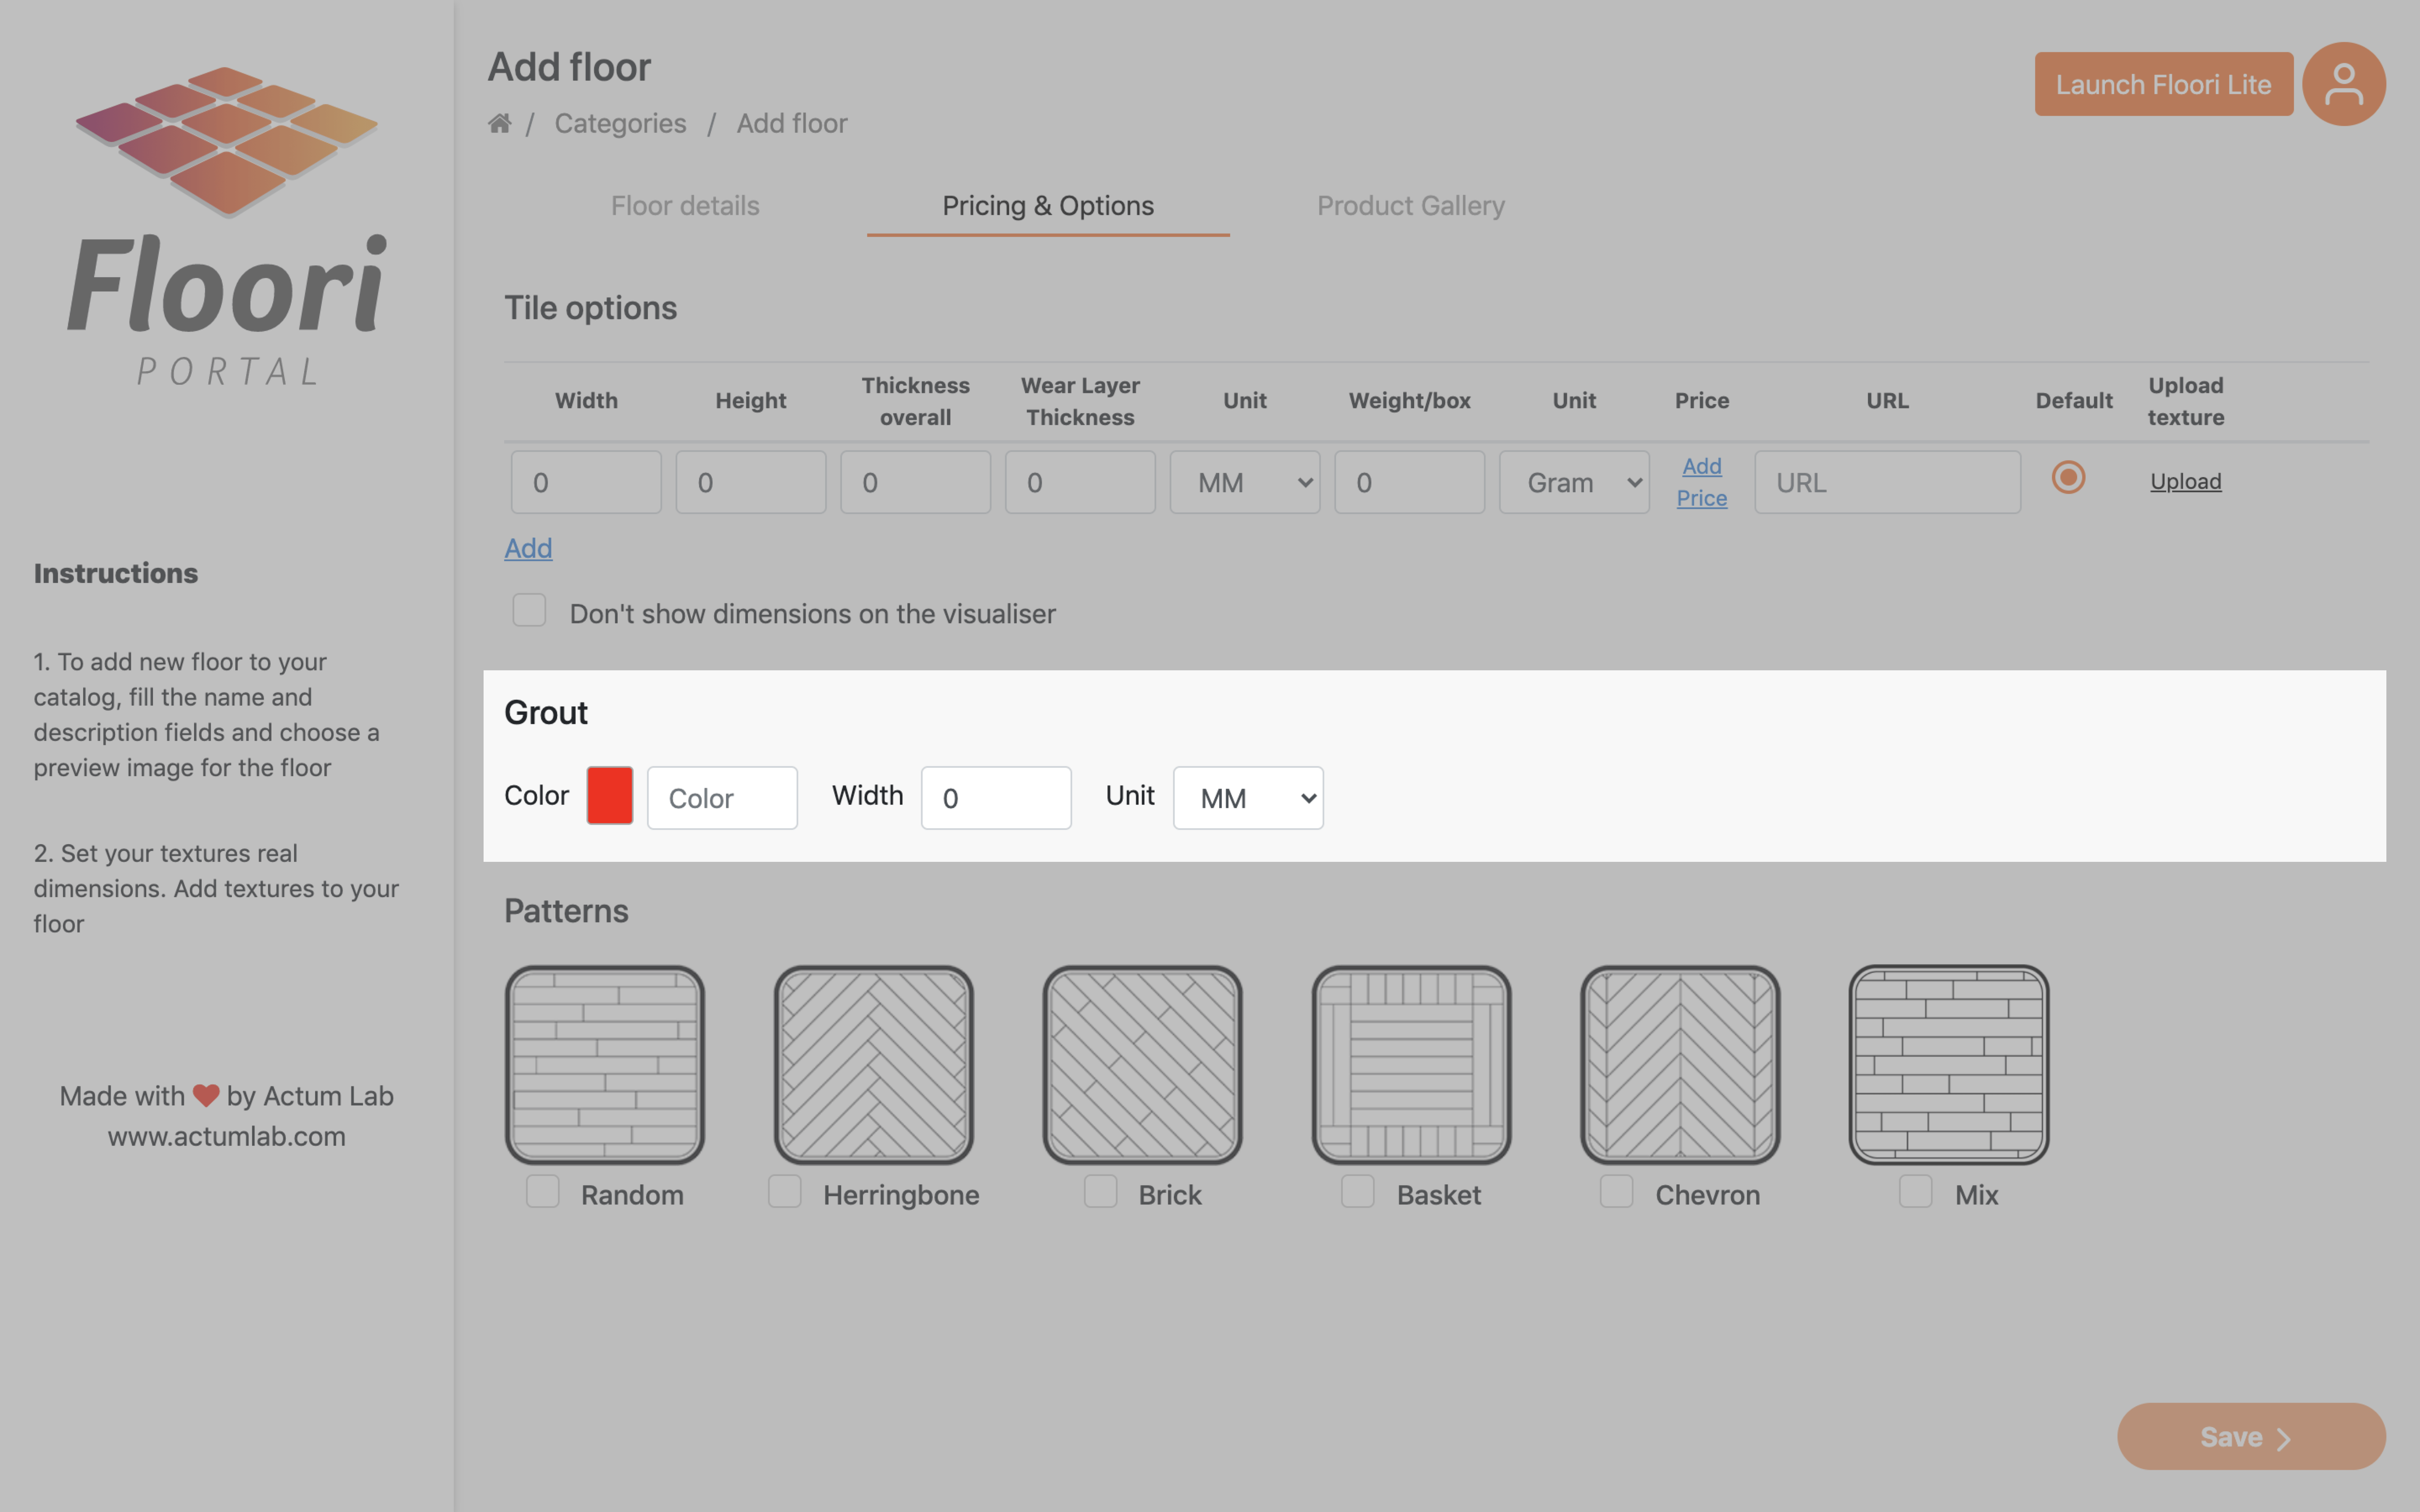 … and choose the patterns for the product.
 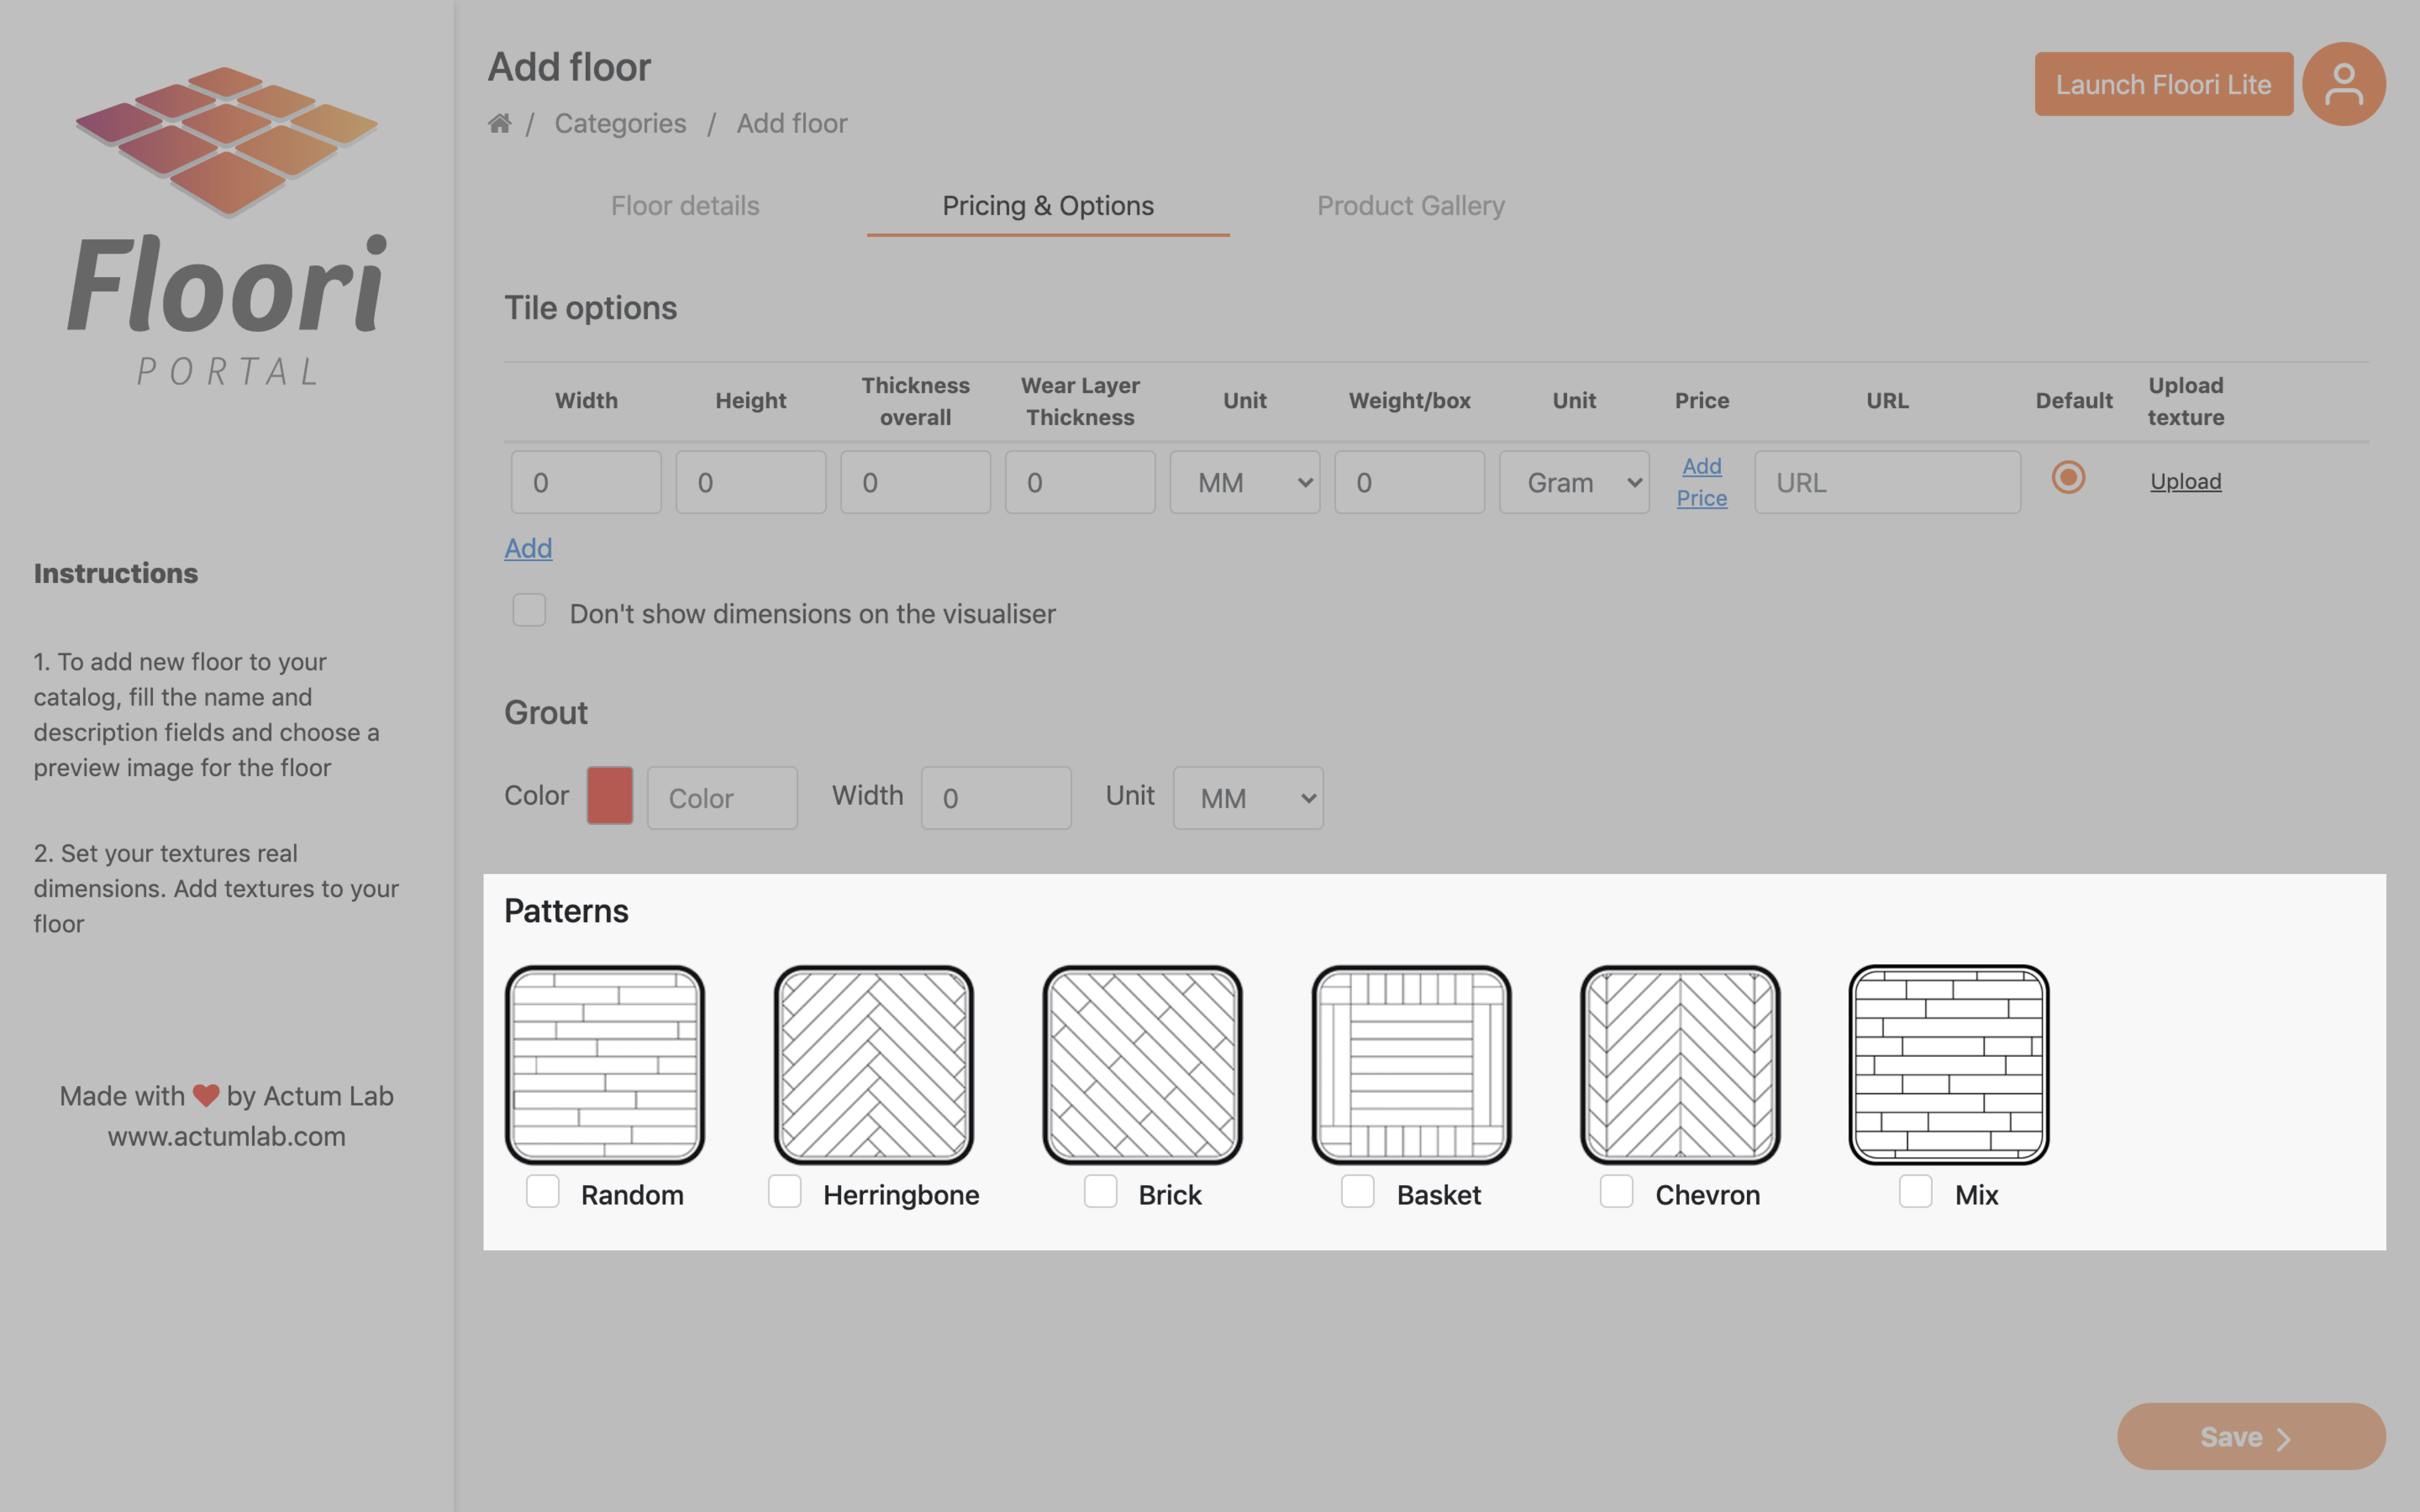 Now you can also add photos of renders and implementations of floor in “Product Gallery”. Just click “Add Product Image” and choose the image from your local disk.
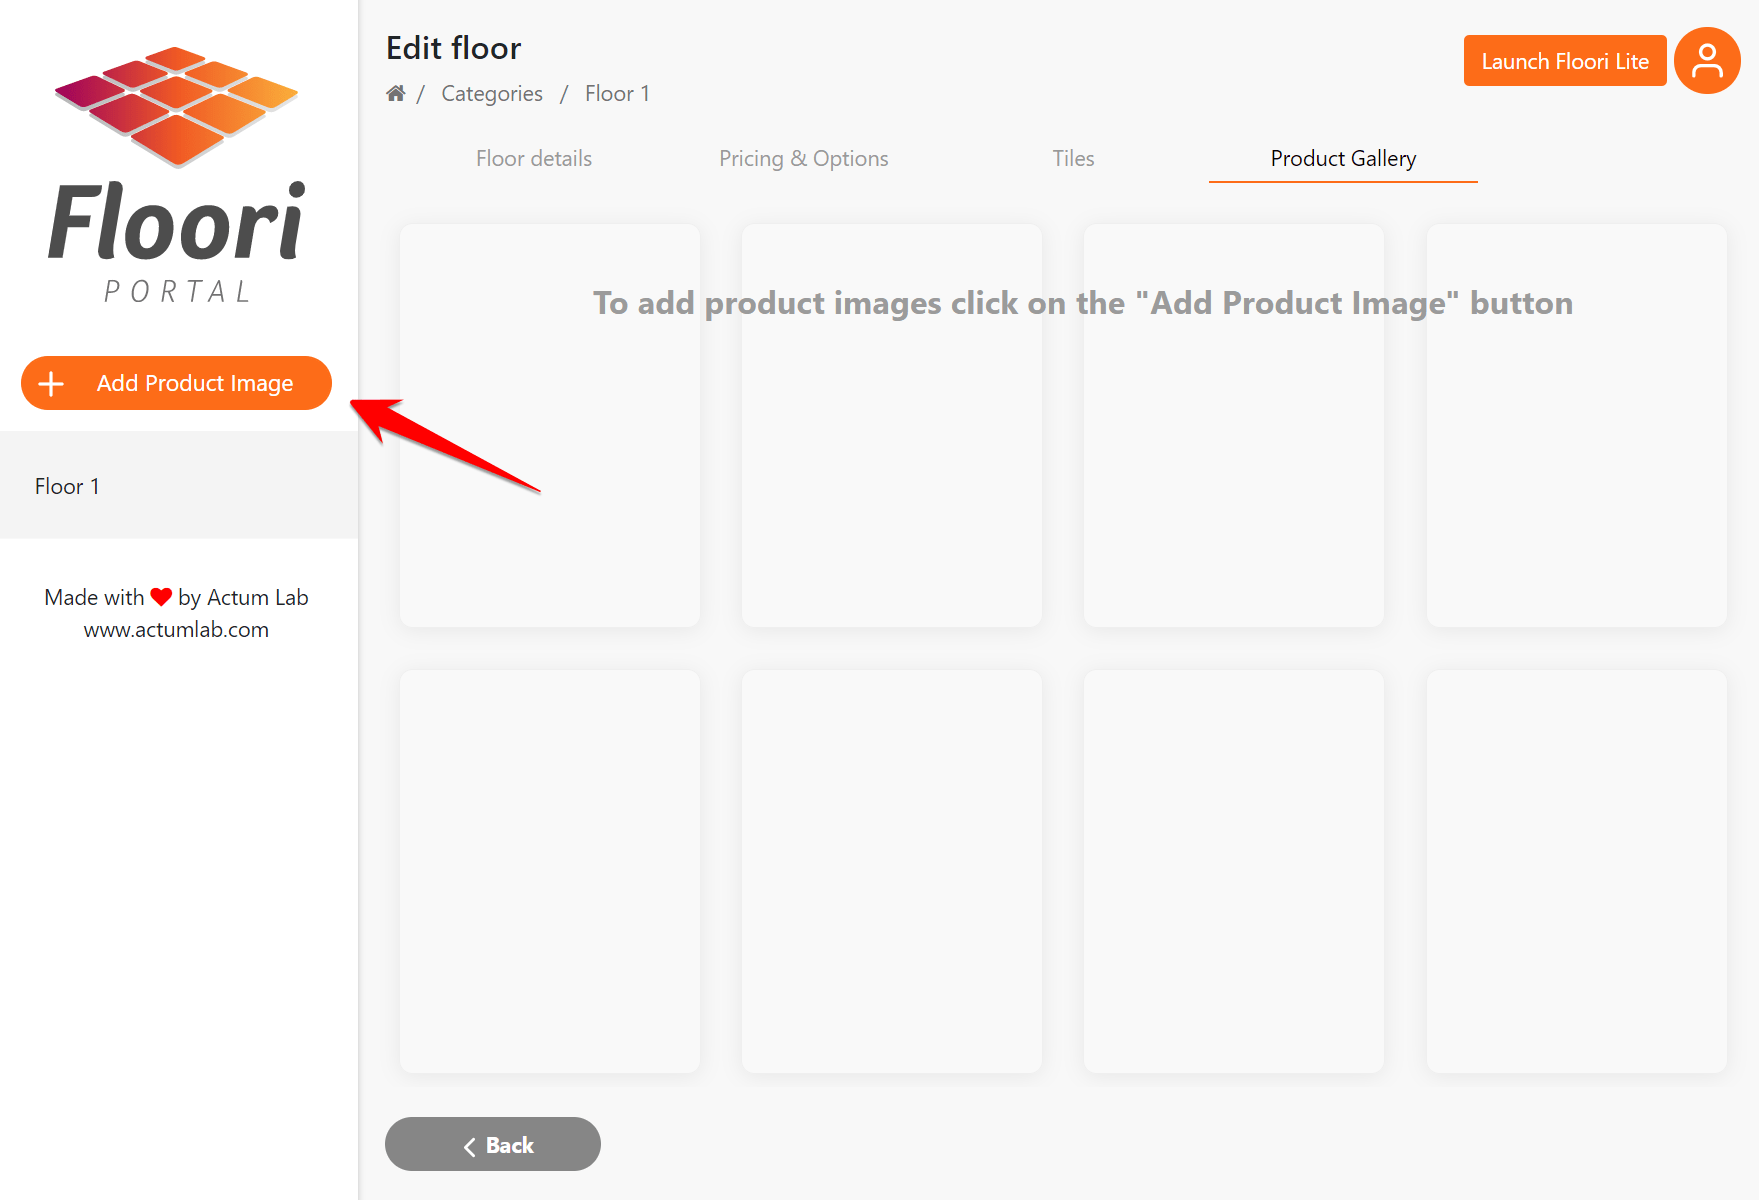
4. Copying floors to another category
You can copy already added products (floors) from one catalog (category) to another. To do this, start “Select mode”: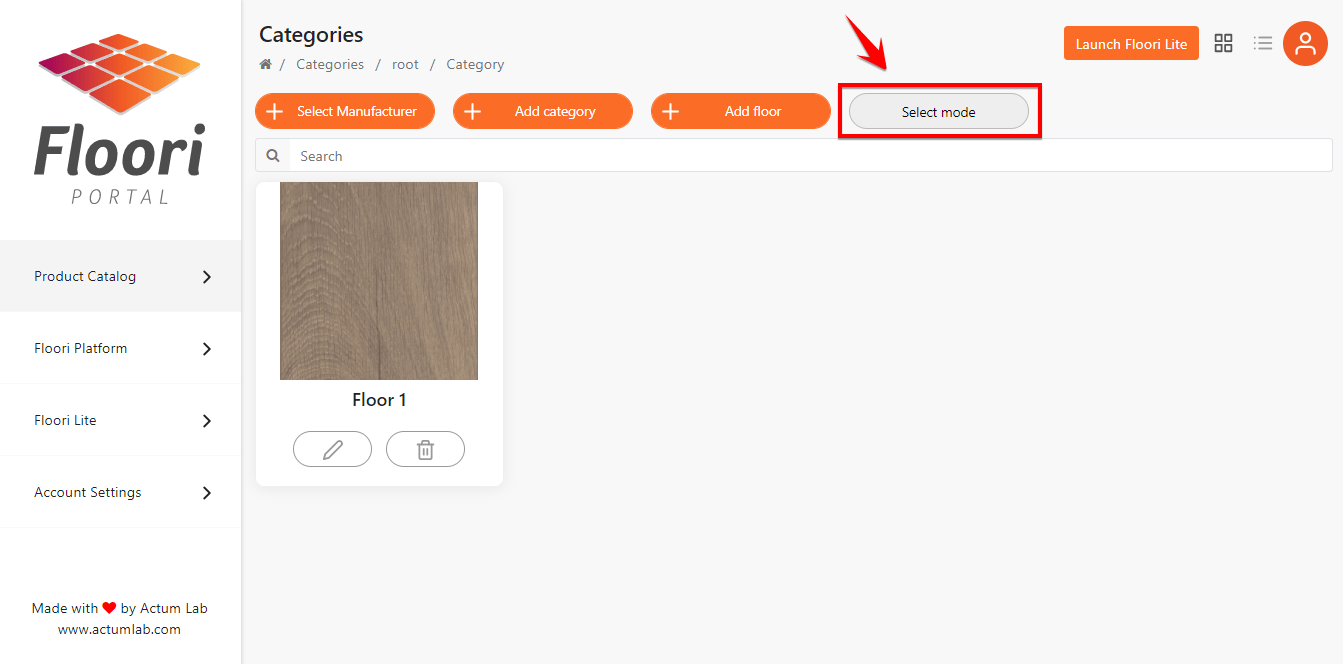 Then select the floor(s) you want to copy (selected floor(s) would be highlighted in yellow):
 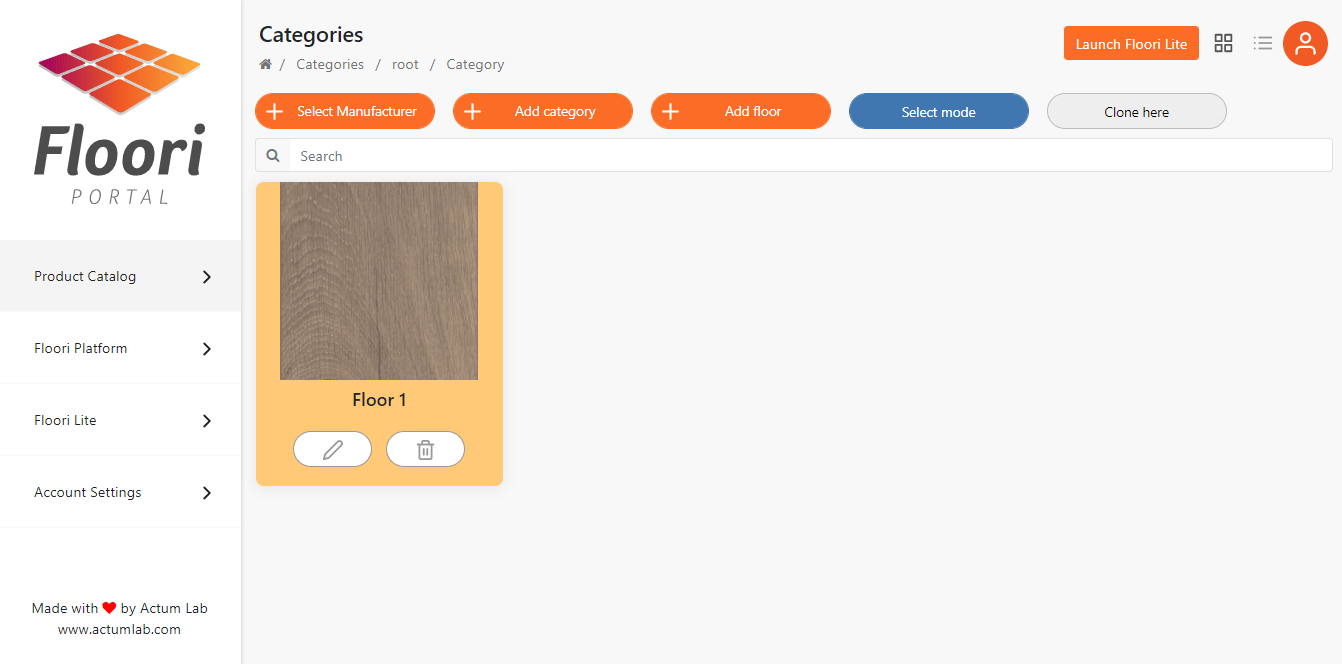 For the next step you need to deselect “Select mode”:
  and go to the target catalog (category), to which you want to copy your selected floor(s) and click on “Clone here”.
 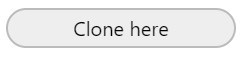 Please note that “Cloning” may take a few minutes, depending on the number of floors and tiles.
 5. Account settings
In the upper right corner of the Floori Portal are two buttons. The first one “Launch Floori Lite” would redirect you to your Floori Lite website, where you can visualize your floor. The second one is an icon of a person, where you can choose one of three options: Profile, Categories or Logout from the Portal. In the Profile section you can manage permissions and user data in the application. The Categories leads to the home page, where you can add new floor categories (catalogs). Let’s focus on the Profile section. There are two levels of access:
- Administrator
- Subuser
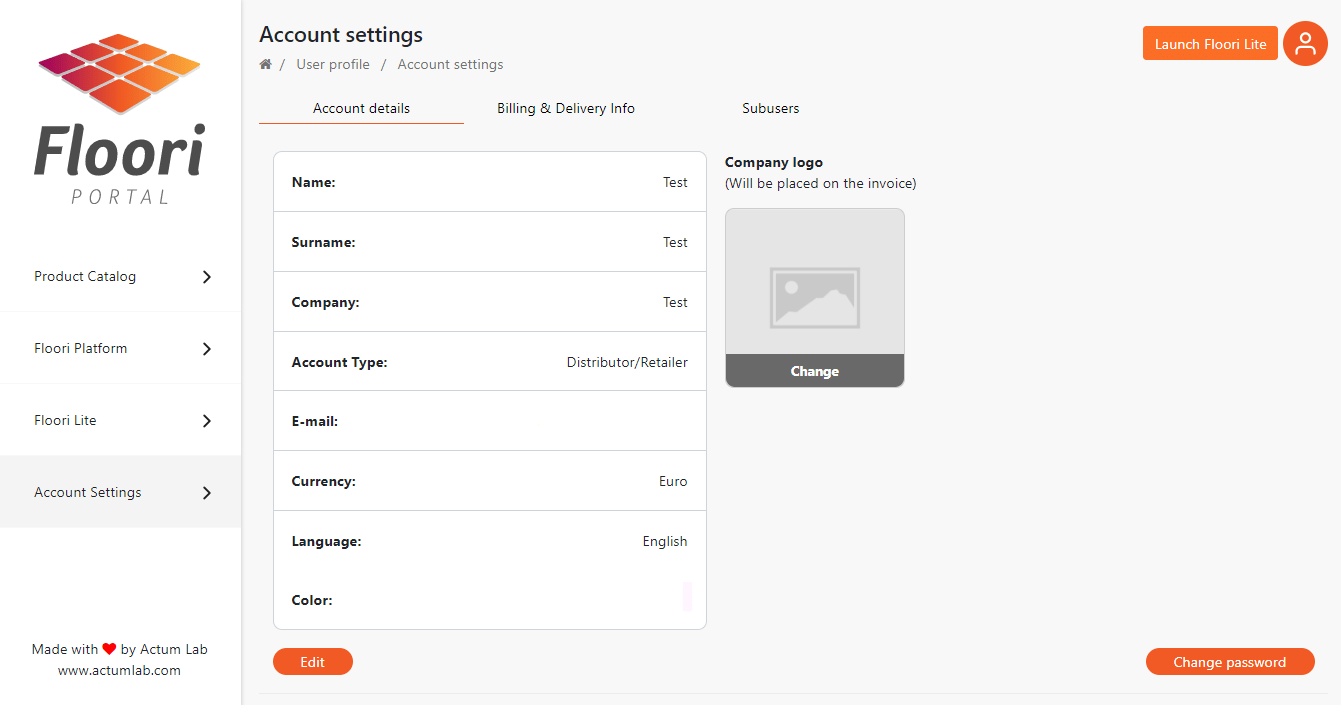 First account in the organization will automatically have an administrator level of access. All other accounts invited by administrator account will have subuser level of access. The administrator has the option of changing the account data and the data that will be used in the application (e.g. when creating offers) as well as granting permissions to other users (subusers). The subuser can display all floor categories, their details data etc., but the subuser cannot do any changes in the Floori Portal, neither add new floors. To add a new subuser, go to the “Subusers” section, write his/her email address and click on the add button, then the activation link is sent to the provided email address.
 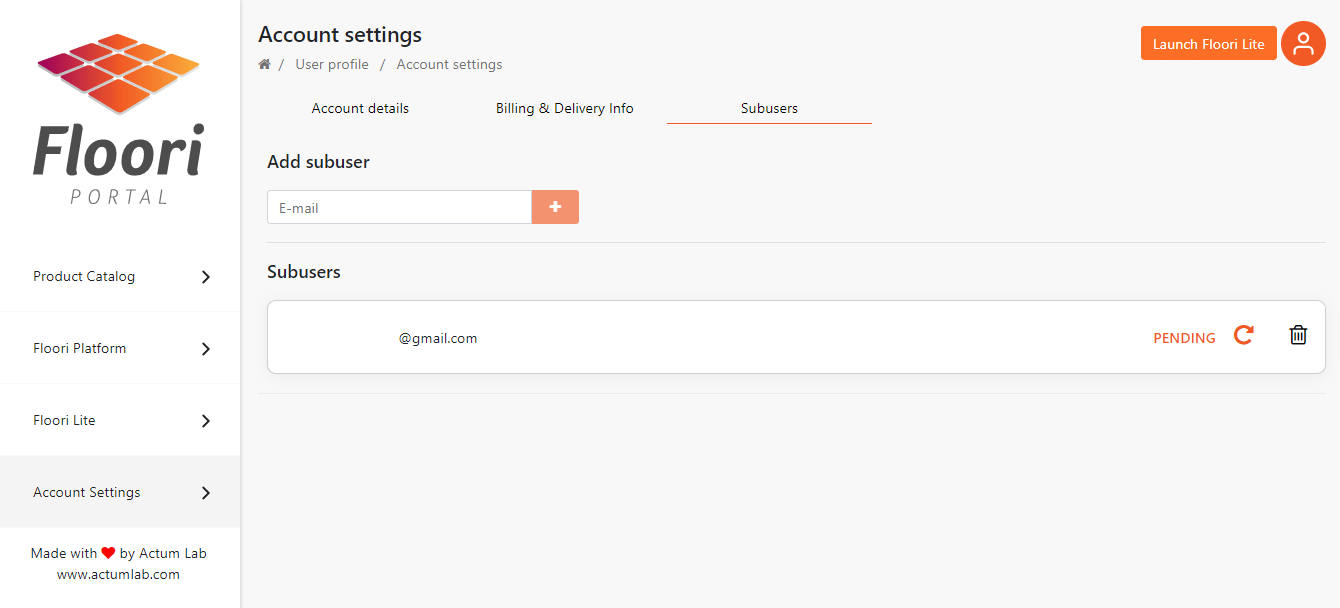 After clicking on the activation link in the email the user is redirected to the Floori Portal. After filling out the necessary data and clicking on the “Sing up” button the new subuser is created and ready to use.
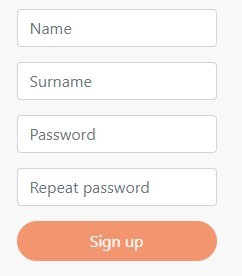
Any questions? Feel free to contact us at Hello@Floori.io 🙂

Why Rug Brands Love Our WooCommerce Plugin (And Why You Will Too)
By Nagham, Floori’s Sales Manager In this article, Floori Sales Manager Nagham shares how the Floori WooCommerce Plugin is revolutionizing rug e-commerce. From real-time product
Protected: Epoxy Self Onboarding Guide | Launch & Marketing Materials
There is no excerpt because this is a protected post.

Protected: Epoxy Self Onboarding Guide | Digital Implementation
There is no excerpt because this is a protected post.

Protected: Epoxy Self Onboarding Guide | Portal Set-up
There is no excerpt because this is a protected post.

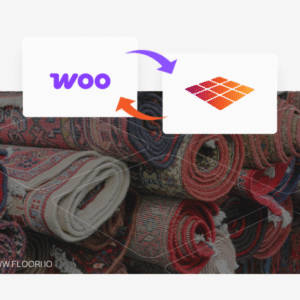
Introducing the Floori WooCommerce Plugin: Effortless Data Sync & Sales Optimization
We Listened. We Improved. Now, Managing Your WooCommerce Store and Floori Portal Is Easier Than Ever. E-commerce businesses rely on speed, accuracy, and efficiency to remain competitive. However, many

How These Two Companies Are Rocking It With The Best Performing Epoxy Ads (+ How You Can Do It Too)
In today’s digital age, social media has become an essential platform for businesses to reach and engage with their target audience. One of the critical factors in achieving success